How to Sync Obsidian Across All Your Devices (Including Free Methods)
I liked the idea of Obsidian, but before I started using it I had to make I could sync my vaults to any device I have. I went scorched earth on subscriptions a while back, so I wanted to figure out how to do it without a new one. A few bucks a month isn’t much, but it quickly adds up when every app known to man requires a subscription.
I have a Dropbox subscription and, if I’m taking text notes, I should be able to use Dropbox to sync them. A few months ago I finally bit the bullet, canceled my Evernote account I had for 15 years and imported all my Evernote data into Joplin. I also have yet to pay to sync my Obsidian vaults and I sync them to:
- Two MacBook Pros
- A Windows desktop
- An iPad
- An Android Phone
Table of Contents
Overview
- Do You Need Another Plugin or Service to Sync Your Obsidian Vault?
- Obsidian Sync
- Remotely Save
- Git
- Syncthing
- Dropsync or FolderSync
- iCloud
- Conclusion
Do You Need Another Plugin or Service to Sync Your Obsidian Vault?
If you have a cloud service account, like Dropbox, OneDrive, iCloud, and the others, and only use Obsidian on desktop and/or laptop computers, that should be all you need to sync between these devices. Just save your vault to your cloud folder and install your cloud app on each of these devices.
But if you need to access your vault from a mobile device, look for other options. Which you choose depends on what type of mobile devices you have, if and what type of cloud storage service you use, your technical skills, and whether you want to pay for Obsidian Sync. The first two methods will work on all devices, without the need to install different apps on different platforms.
Obsidian Sync
Use this method, if:
- You don’t mind paying a subscription fee
- Need to sync to any device you can install Obsidian on.
That being said, Obsidian Sync is only $4 a month, which beats the $20 a month cost of Evernote. And it includes:
- End-to-end encryption
- Version history for each note (this alone might be worth it)
- The ability to sync to Mac, Windows, Linux, iOS, and Android
- And you can work offline and sync later
For this price you get:
- 1 synced vault
- 1 GB total storage
- 5 MB maximum file size
- 1 month version history
And for $8, you can get:
- 10 synced vaults
- 10 GB total storage
- 200 MB maximum file size
- 12 month version history
And it’s as easy as signing up and then logging in through Obsidian.
Remotely Save
Use this method, if:
- You don’t want to pay a subscription fee, because you already have access to one of these services:
- Dropbox
- Amazon S3 or S3-compatible
- OneDrive for personal
- Webdav
- Webdis
- You need to sync to any device you can install Obsidian on.
- You store your Obsidian vaults in Dropbox
Remotely Save is a plugin I have used to sync my Obsidian vaults since I started using Obsidian and I only use it on my mobile devices. On my laptops, I just keep the vault in my Dropbox folder and that’s enough. If you do this, just remember to have your cloud app keep the vault folder locally on your computer and not use the on-demand storage feature for this folder.
When I first installed it, it was strictly a free plugin and would sync your Obsidian vault to the following services:
- Dropbox
- Amazon S3 or S3-compatible
- OneDrive for personal (Just the App folder)
- Webdav: This is a set of extensions for the HTTP protocol that stands for Web-based Distributed Authoring and Versioning. You can set this up on an Apache, Nginx, lighttpd, Caddy, or Microsoft IIS server.
- Webdis: This is a lightweight multithreaded server that provides an interface to Redis.
These have remained free. They also offer a pro account to sync your vaults to the following:
- Google Drive
- Box
- pCloud
- Yandex Disk
- Koofr
- Azure Blob Storage
And Remotely Save has been relatively easy to configure and use and I haven’t had too many issues with it. The one thing that took a while to figure out, though, was how to get the folder onto my mobile devices. I have both an iPad and an Android phone.
I use Amazon S3 storage on the job and I see how that can be a simple and relatively cheap way to sync vaults. Webdav also looks relatively easy to set up if you know web servers well. But I already had a Dropbox account, so I used it.
Here is the process I used:
- Open the Obsidian app.
- Go to Options by clicking on the gear icon.
- Go to the General section of Options and click on the Community plugins menu item. Then click on the Browse button to search for Obsidian plugins to install.
- Install and then Activate the Remotely Save plugin in your vault on your laptop or desktop computer. You don’t even have to authorize your cloud provider here unless you plan on using it on these devices.
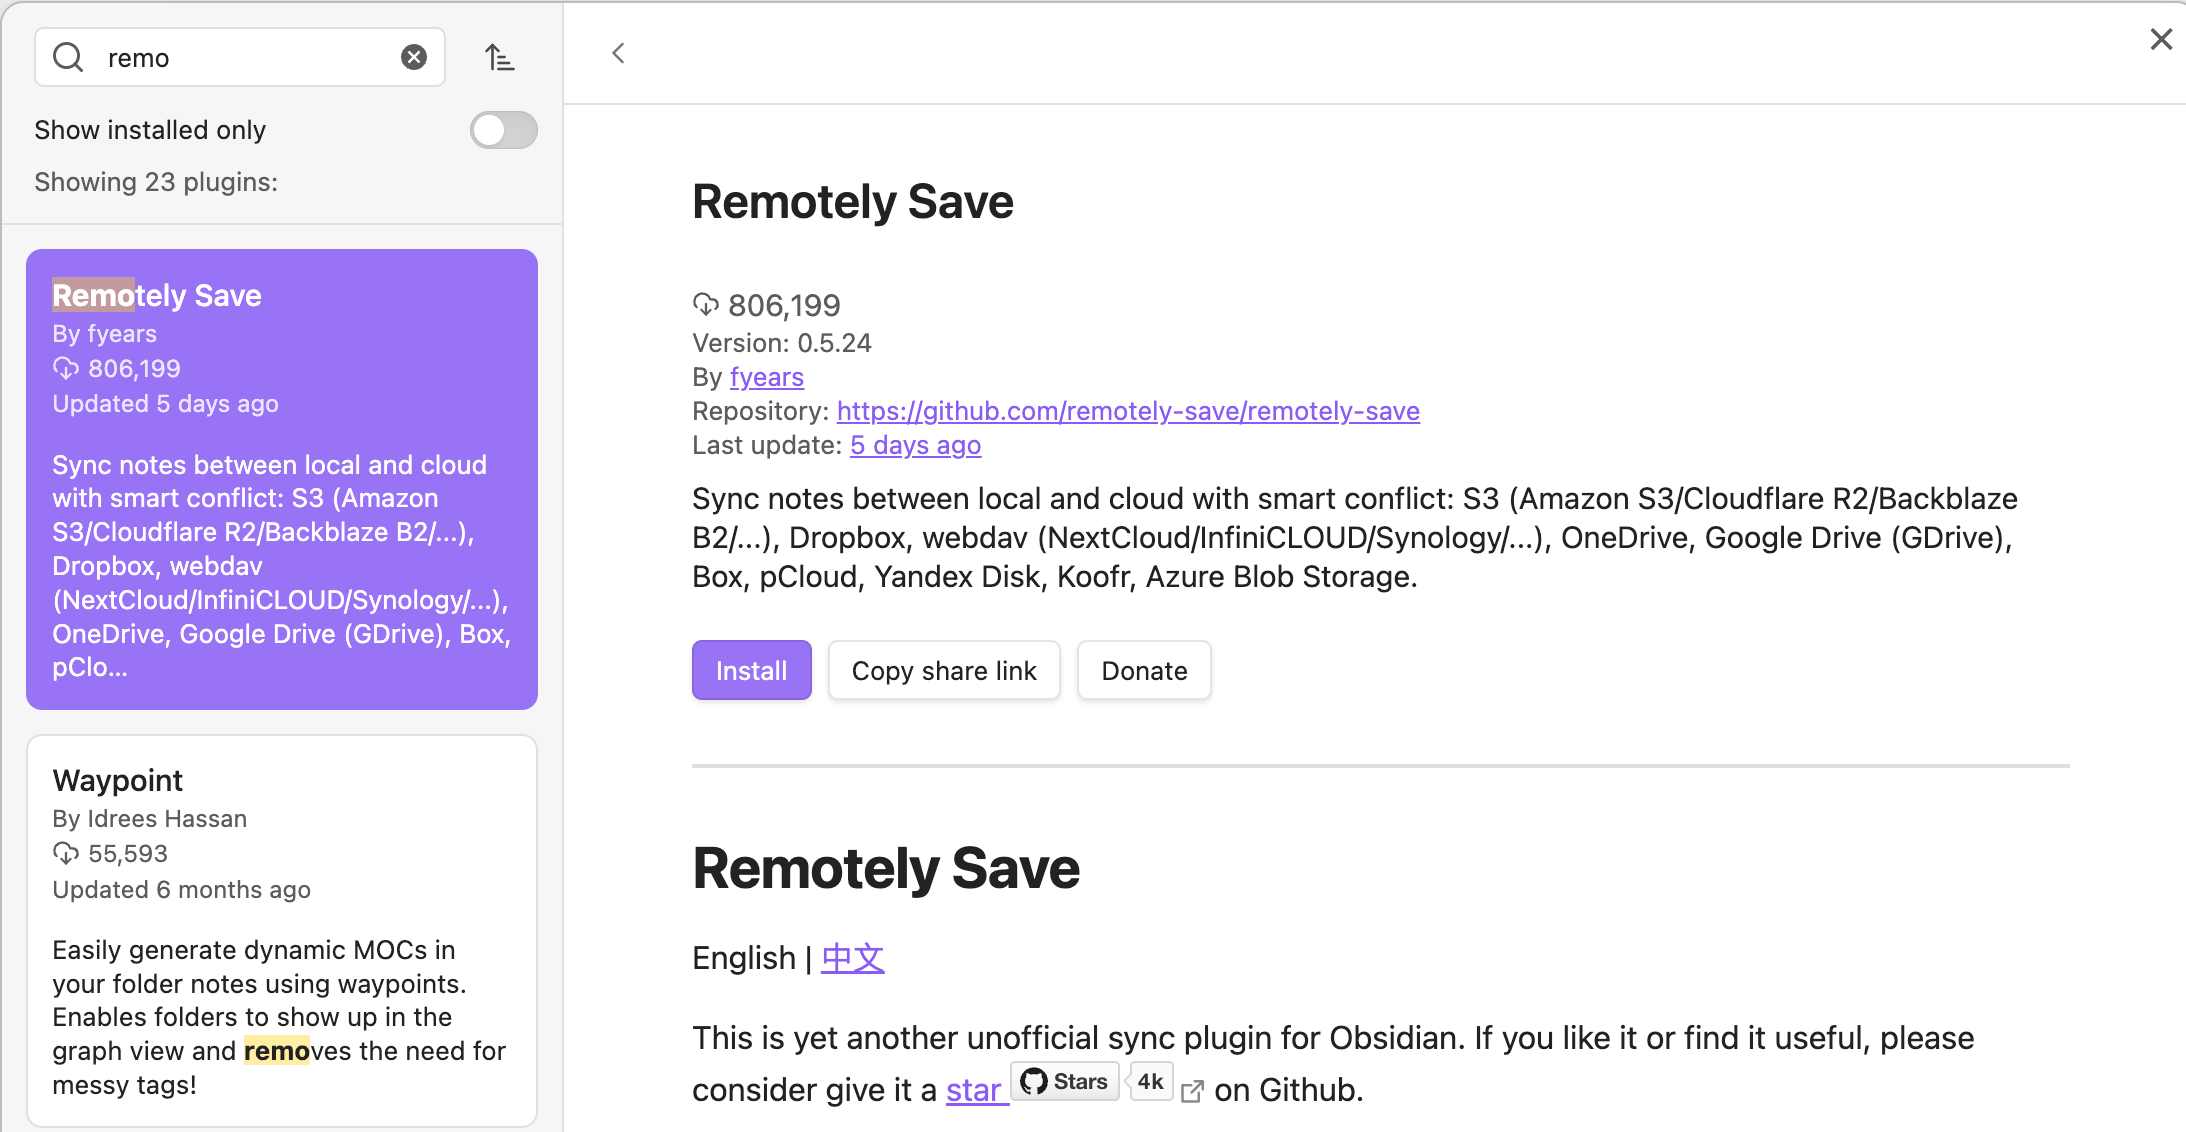
- Make sure it’s done syncing the plugin change to your Dropbox/cloud account, which should only take a second.
- To install on iOS or Android:
- Have the Obsidian App installed.
- Open your cloud storage app and download your vault to a local folder. This will be slightly different on each mobile platform, but there will be a folder that both your cloud storage app can download to and Obsidian can open.
- It will probably be a zip file you have to extract. So do that and delete the zip file.
- Have Obsidian open the vault by choosing Open folder as a vault.
Now, to authorize your cloud provider, do this:
- Open the Obsidian app.
- Go to Options by clicking on the gear icon.
- Go to the Community plugins section of Options and click on the Remotely Save menu item.
- Choose your remote service from the dropdown menu. This is a screenshot of the desktop app, but the mobile app is similar and will have the same options:
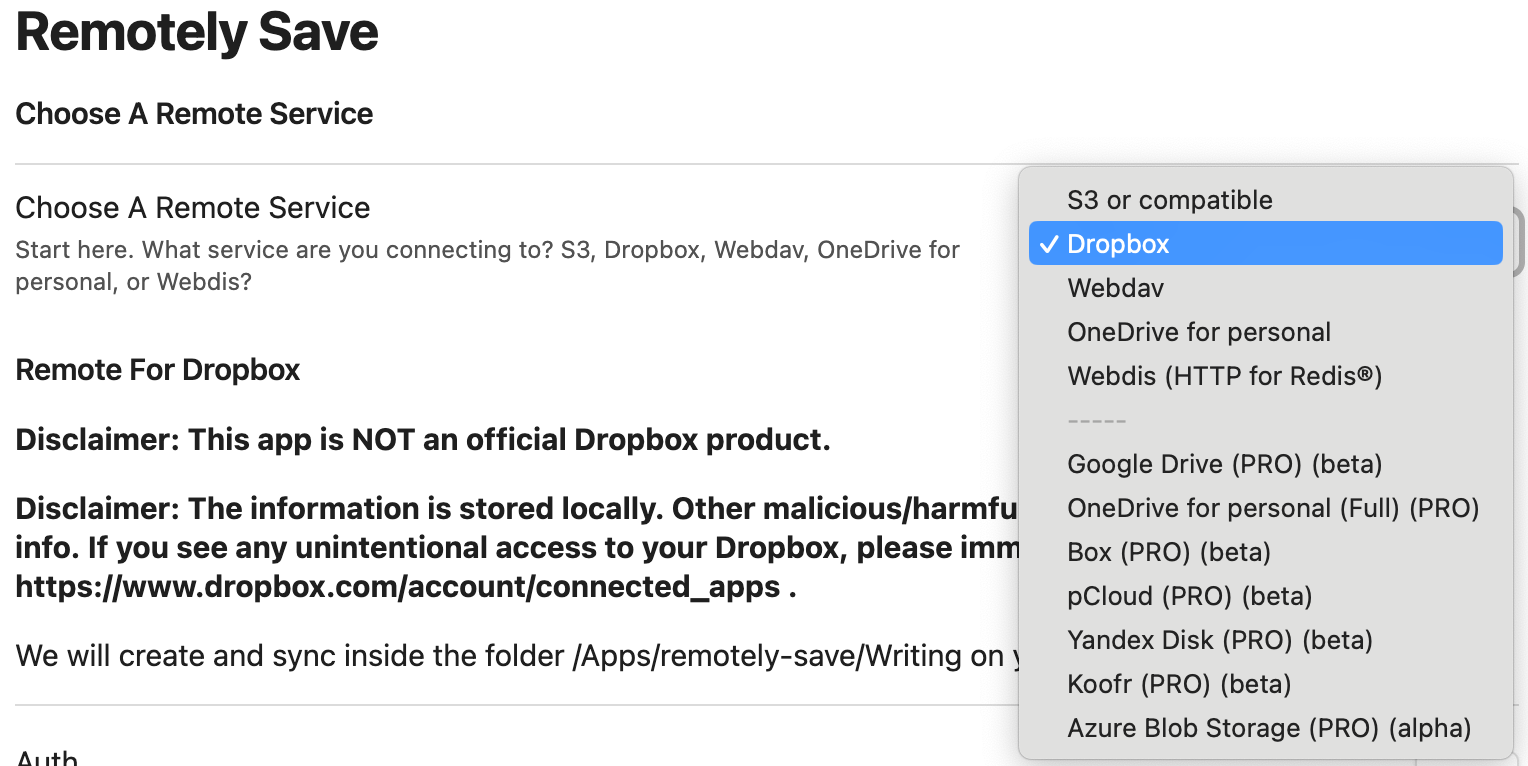
- Click the Auth button. Since I was using Dropbox, this launched a dialog with a link. I clicked the link was taken to Dropbox to authorize the plugin where I clicked another button that took me back to Obsidian and I was done.

- There are quite a few setting you can configure but the only ones I have touched so far is making sure it syncs on startup and then I have it sync every 5 minutes. Other than that, I can click its button on the menu to sync whenever I want.

Git
Use this method, if:
- You’re familiar with git
- And only are going to sync vaults on devices with native git support (i.e. not mobile phones and tablets)…
- Or you want to install a different app on each mobile app you have to handle the git part.
- Or want to give the Obisidian Git plugin a try…
I don’t know why I didn’t go looking for something that would do this when I started. I use git almost daily, plus it would give me the ability to make commits when I wanted to save the state a vault is in, like when I am not sure about a plugin I am installing and want the ability to roll things back. Some Obsidian plugins are relatively unobtrusive, and others rewrite and add files. And you can create free private Github repos, so this can be a 100% free way to sync your vaults.
I won’t go into step-by-step details on this method, because if you know git, you probably don’t need screenshots with arrows.
Using Git
I you don’t use Obsidian on mobile devices, using git is as simple as putting your vault in a git repo and you’re done. Just commit, push, and pull like you do when writing code.
If you have multiple devices, don’t want to try the Obsidian Git plugin, you can test using git to sync to your mobile devices by installing Working Copy on your iOS devices and installing mgit on Android devices. Users have reported the mgit app on Google Play as not working and suggest installing the version available on F-Droid.
The purpose of both apps is the same, to give you a local copy of a git repo on your mobile device. Once you install the app, connect to the repo where your vault is stored, create a local copy, and open the local copy with the Obsidian app.
Using the Obsidian Git Plugin
The other option is installing the Obsidian Git plugin. Just install and enable it from the Obsidian Community Plugins tab. The documentation is here. I also tested installing the plugin because I might try it for revisions because once it is installed, you can install the Version History Diff plugin to compare changes.
One thing to note before doing this is that the mobile version of the plugin uses a re-implementation of git in JavaScript and can be unstable. The size of the vault that can be synced this way in mobile is limited. But that might still work for my use case, because I already am using Dropbox to sync. I might just use the Git plugin on the desktop to keep a revision history.
I installed and activated the plugin on a vault desktop first and it warned me it wasn’t a git repo, so I turned it into one with git init on command line, created a repo on Github for it, and then set the remote of my local repo to the Github repo via command line.
I had the vault open in Obsidian at the time and there was another warning about no commits. So I closed and re-opened the vault, clicked the new Git button on the left side, and saw this, which was empty until I reopened it:
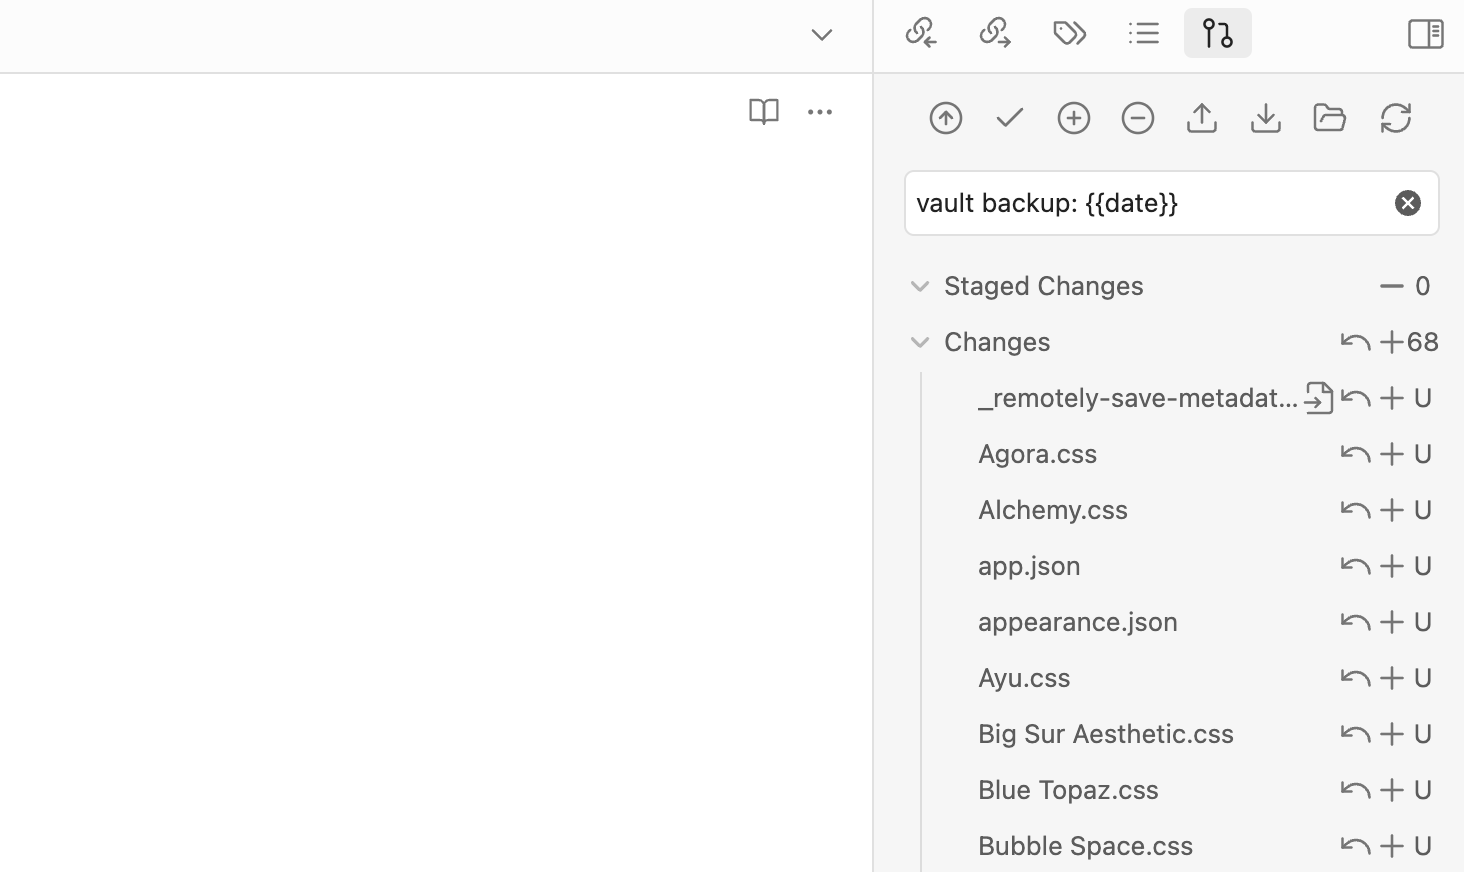
I staged all the changes with the + button, and then try to push with the arrow button. It showed me a dialog to choose my remote and I choose origin, then it asked me to choose a branch and gave me no options. So I went back to the command line and ran git push --set-upstream origin main. I figured it worked like Git in VS Code and if I set up everything in the project via command line first, it would just work and I was right.
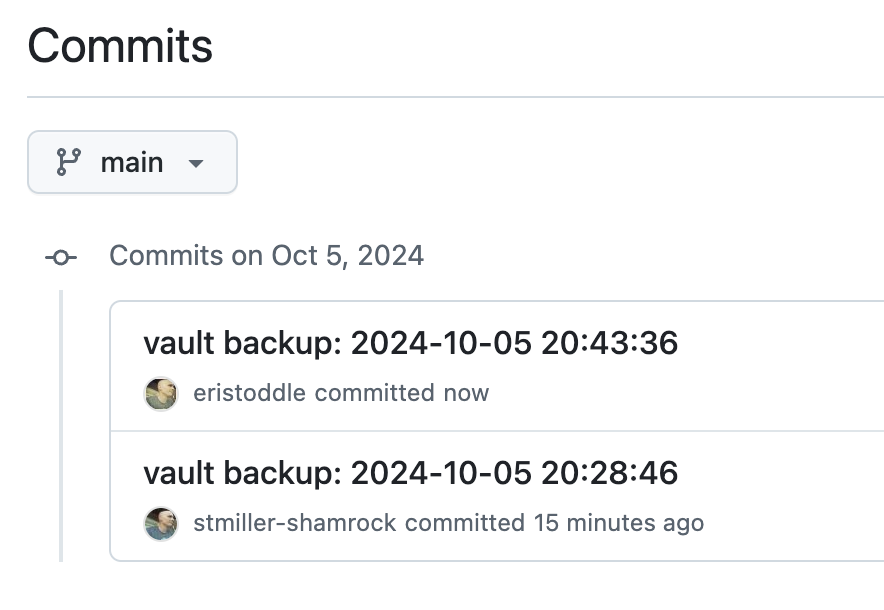
I went back and edited one of the markdown files in the vault, opened the git plugin’s panel again, clicked the + button to stage the changes, and clicked the arrow button to push and I had two vault backups in my repo. That was on a test vault. After that I installed it on my main vault. Now I have a way to roll back my vault easily if I need to.
Syncthing
Use this method, if:
- You need to sync an Obsidian vault across all devices supported by Obsidian except iOS
Syncthing is a peer-to-peer file synchronization app and many users swear by this method. I probably would have considered it if I didn’t have to sync to my iPad. Obsidian Hub has some tips on using Syncthing, but you probably won’t need them because there is also an Obsidian plugin to make the process easier. Since Syncthing is free and peer-to-peer, this is a 100% free method of syncing your Obsidian vault.
Just search for “synchthing integration” in the Obsidian Community Plugins tab to install it.
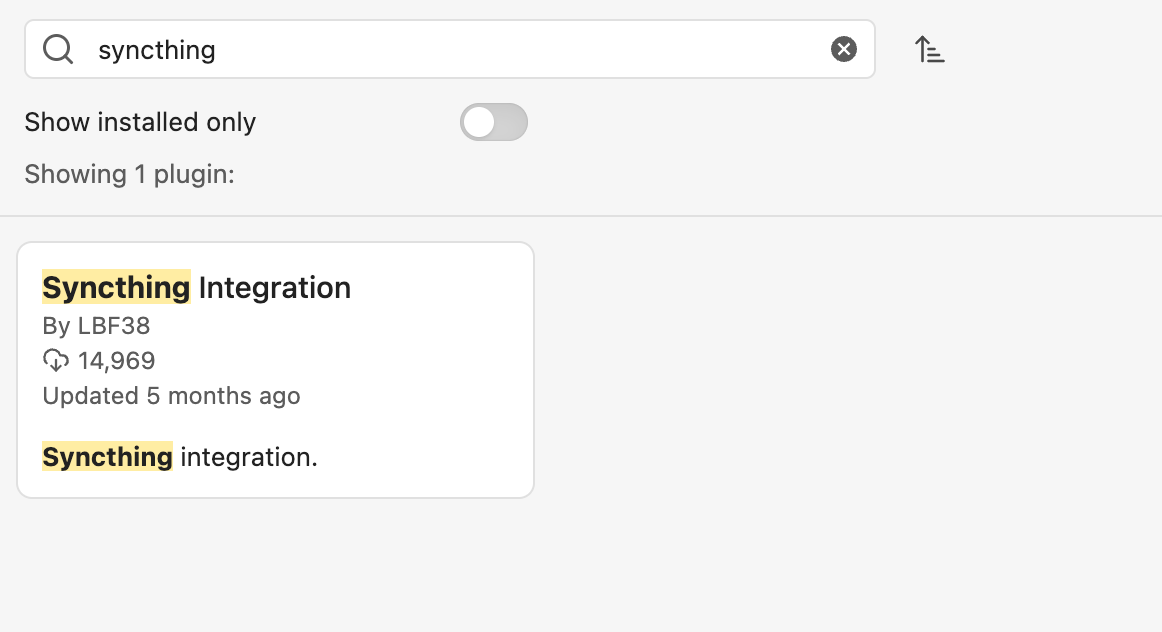
For more details on how to use the plugin, check out its Github repo.
Dropsync or FolderSync
Use this method, if:
- You have a Dropbox account
- You have any type of desktop or laptop computer that supports Dropbox and Obsidian.
- You store your Obsidian vaults in Dropbox
- The only mobile devices you need to sync to are Android
This method works on all devices that the last method works on, but if you have an iOS device, you’re out of luck. Here are the steps to get Dropsync working:
- Install Dropsync on your Android device.
- If you don’t have your Obsidian vault in Dropbox, move them there on your computer.
- Open Dropbox on your phone and download your vault to a local folder on your Android device. It will download the folder as a zip file.
- Extract the vault from the zip file.
- Open Dropsync or Foldersync and allow any necessary permissions.
- Log into Dropbox with the sync app you chose.
- Choose “Let me create my own folder pair”, pick a name for it, and choose your vault in Dropbox.
- Next, choose the local vault you downloaded earlier and choose the Two-way sync method.
- Enable this folder pair if you need to and save it.
- Wait for the sync to finish and then you can open your local vault with Obsidian.
Foldersync is also an option and the instructions for using FolderSync to sync Obsidian notes seem similar to those for Dropsync.
iCloud
Use this method, if:
- You have an iCloud account
- And you only need to access your Obsidian vaults on:
- Apple Mac Computers
- iPhone
- Windows Computers
Using iCloud works if you only use Obsidian on Apple devices. There is a version of iCloud for Windows, but people online have reported issues with corruption and file duplication. You can try it but no guarantee.
To Create a Vault in iCloud
- Tap the Create new vault button in Obsidian.
- Enter a unique name for your Obsidian vault.
- Enable the Store in iCloud option.
- Tap the Create button.
To Migrate a Vault to iCloud
- Create a new empty Obsidian vault in iCloud Drive with the same name as your existing vault by following the steps above for creating a new vault.
- On your computer, move the contents of your existing Obsidian vault to the newly created iCloud Drive folder.
- Allow iCloud to synchronize the changes across your devices.
Conclusion
I’ve used Obsidian for over two years, but I’ve barely scratched the surface. Obsidian’s nice because it works if you need something simple or complex and I took the simple route. But I plan on digging into more of the features and plugins available to see what else it can do for me.
Like I mentioned, Remotely Save works for me, but using git has me curious. I didn’t realize there were so many options until I wrote this article though. Hopefully, you find a method that works for you.
And look for more of my posts in the future to explore Obsidian along with me.


