Obsidian's New Web Clipper - You'll Want to Try It
A few months ago, I “settled” on the process I’d used to collect information from the web when I wrote my post about migrating from Evernote to Joplin. Because I wanted to keep my Obsidian vault relatively clean, I decided I’d use Joplin’s web clipper to save any information I found online and then migrate my notes to Obsidian when I was sure I needed them there.
But the new Obsidian Web Clipper has me rethinking things.
Table of Contents
Overview
- Table of Contents
- The Original Obsidian Clipper
- The New Obsidian Web Clipper
- Other Obsidian Web Clipper General Settings
- Using the Web Clipper Highlighter
- Using Templates with the Web Clipper
- An Obsidian Web Clipper Custom Template and Variable Example
- Adding the Obsidian Web Clipper to My Workflow
The Original Obsidian Clipper
There has been a community clipper around for a while. And it did have some useful features. You just set all these options and it would save a web page to the vault, folder, and file you told it to. You could even use a template for content.
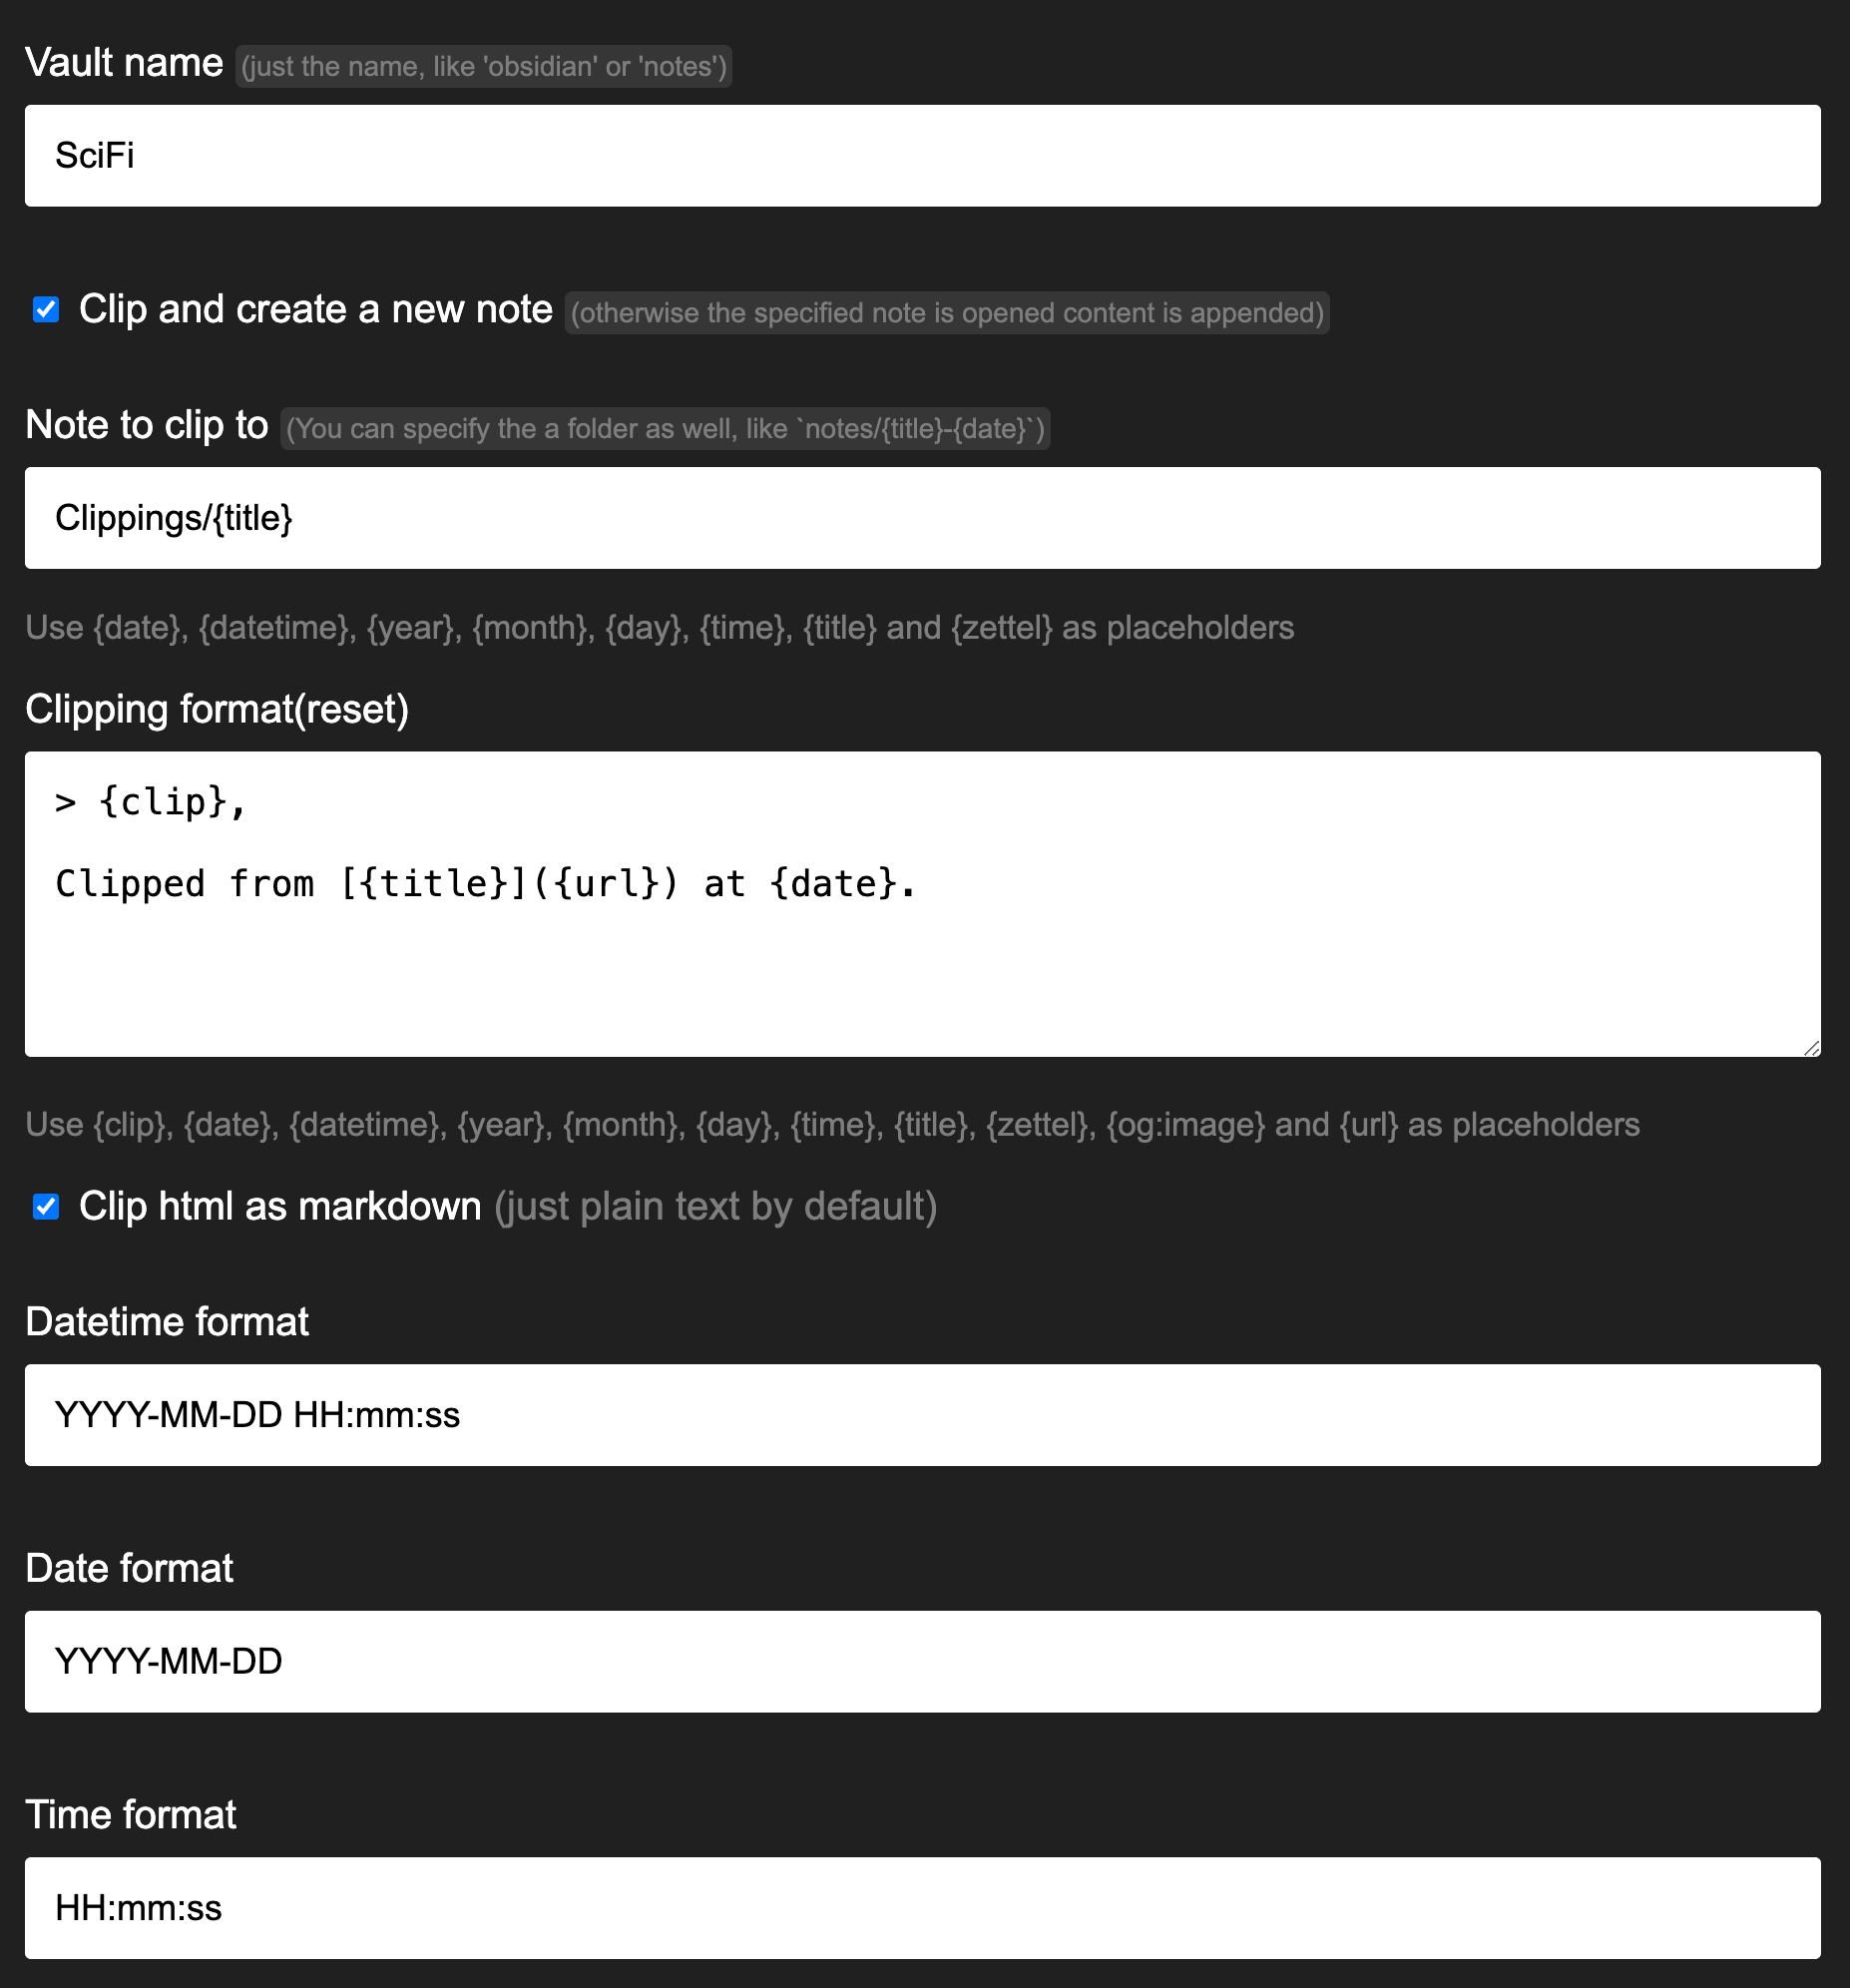
And at the time I used Evernote and when I wanted to save a web page, I just saved the whole thing to a Collect folder, so this Obsidian web clipper worked the same way I used a web clipper at the time. But I stopped using this Obsidian web clipper because I didn’t want to have a folder full of hundreds of random files I collected because they might be interesting for something along with those I might use tomorrow.
But the new official Obsidian Web Clipper has me backtracking and rethinking how I collect information from the web.
The New Obsidian Web Clipper
You can find links to Obsidian Web Clipper browser extensions here, for Chrome, Safari, Firefox, Edge, Brave, Arc, Orion, and Vivaldi. And here’s what it looks like:
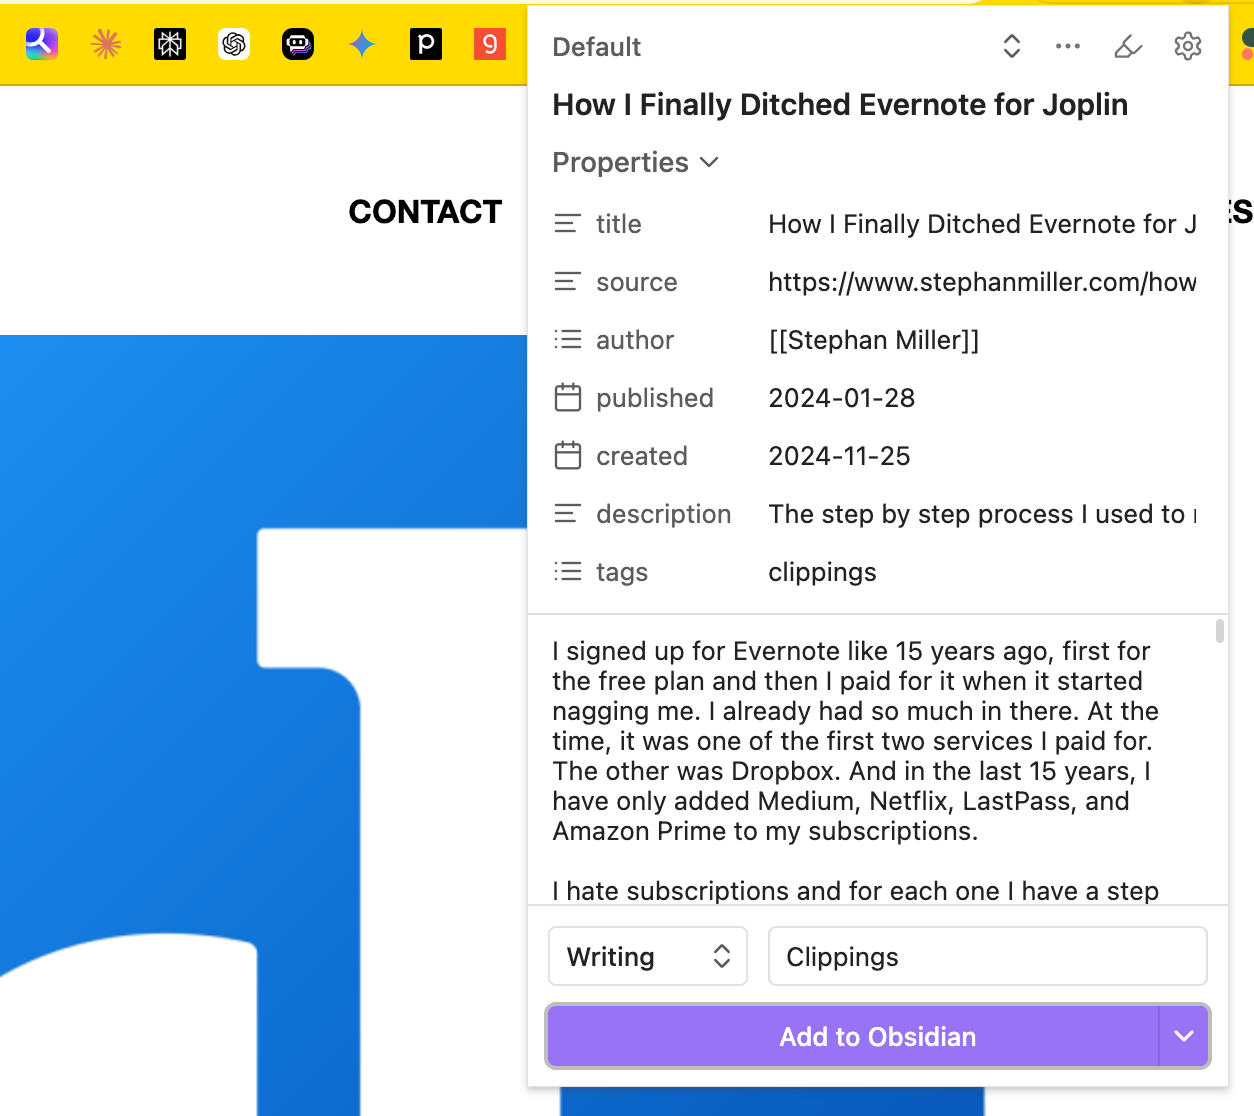
See all the frontmatter data it generates from the page, including the title, source, author, and more. I can see this being useful some time, but it wasn’t the feature that made me change my mind, though it got me partially there.
Saving Web Clips to an Obsidian Vault
Both web clippers require you to manually type in vault and folder names. I know Joplin runs a service for web clipping which allows the browser extension to interact directly with Joplin to add a folder choice dropdown, tags, etc. This will not happen with the Obsidian Web Clipper. You will have to set these values.
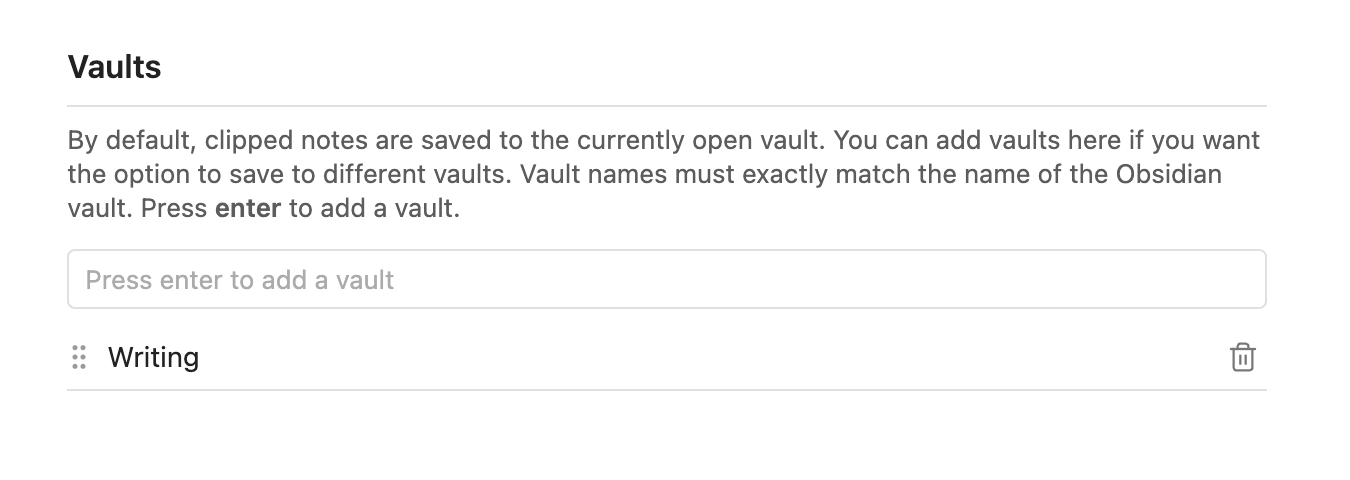
So in my screenshot example, I had set up the Writing vault in settings, so it was available. You can get to settings by clicking on the gear in the extension’s modal. Then I just added the name of my vault here in the General settings section:
The field right beside the vault in my screenshot is the folder you want to use. You can set also set this in settings, which we’ll get to in the templates section, but I didn’t know this at first and ended up typing it out each time. Then I noticed this feature after I clicked on the caret at the end of the Add to Obsidian:
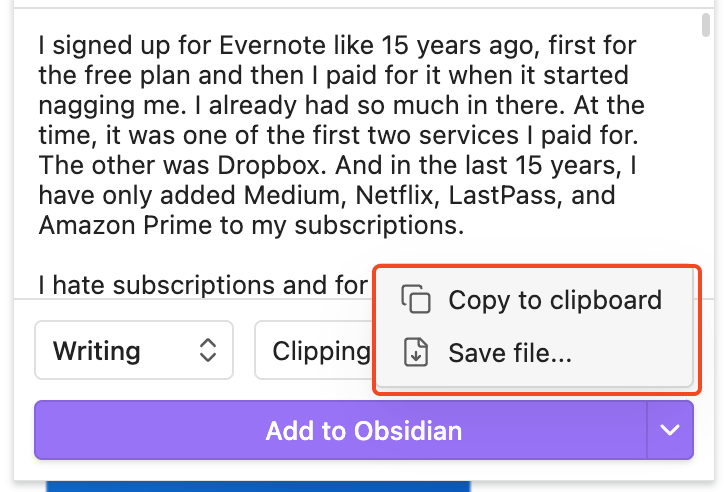
There is more than one way to add to Obsidian and browsing to the folder I want to store the clip might just be simpler and not take much longer than clicking the button. It definitely is easier that typing the folder path out again.
You can also use Copy to clipboard and paste the whole contents of the file where needed.
Other Obsidian Web Clipper General Settings
In General settings, you can also:
- Choose to open the note in Obsidian after it is clipped or not
- Downgrade the clipper for Obsidian installations that are version 1.6.7 or older
- Reset the Default template back to default
- Export web clipper settings
- Import web clipper settings
Using the Web Clipper Highlighter
This was the part of the web clipper that had me rethinking collecting notes online. Yes, there are other tools that will do this, but then I would have to import the results into Obsidian. To enable the highlighter, click the highlighter button in the heading of the web clipper.
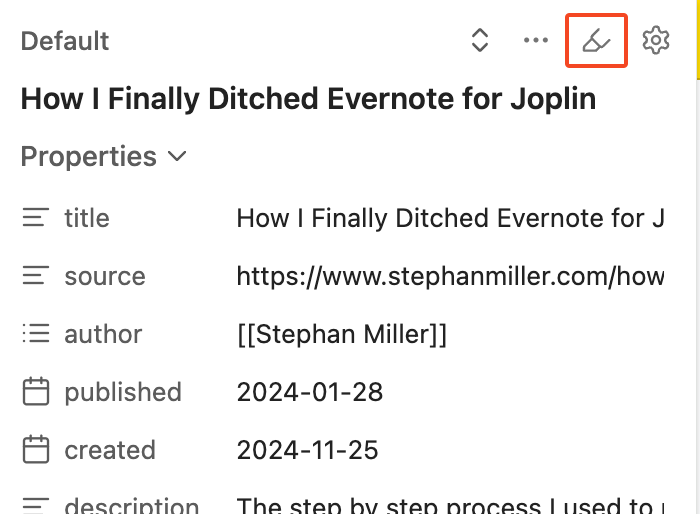
This will hide the modal and bring up highlighter mode.
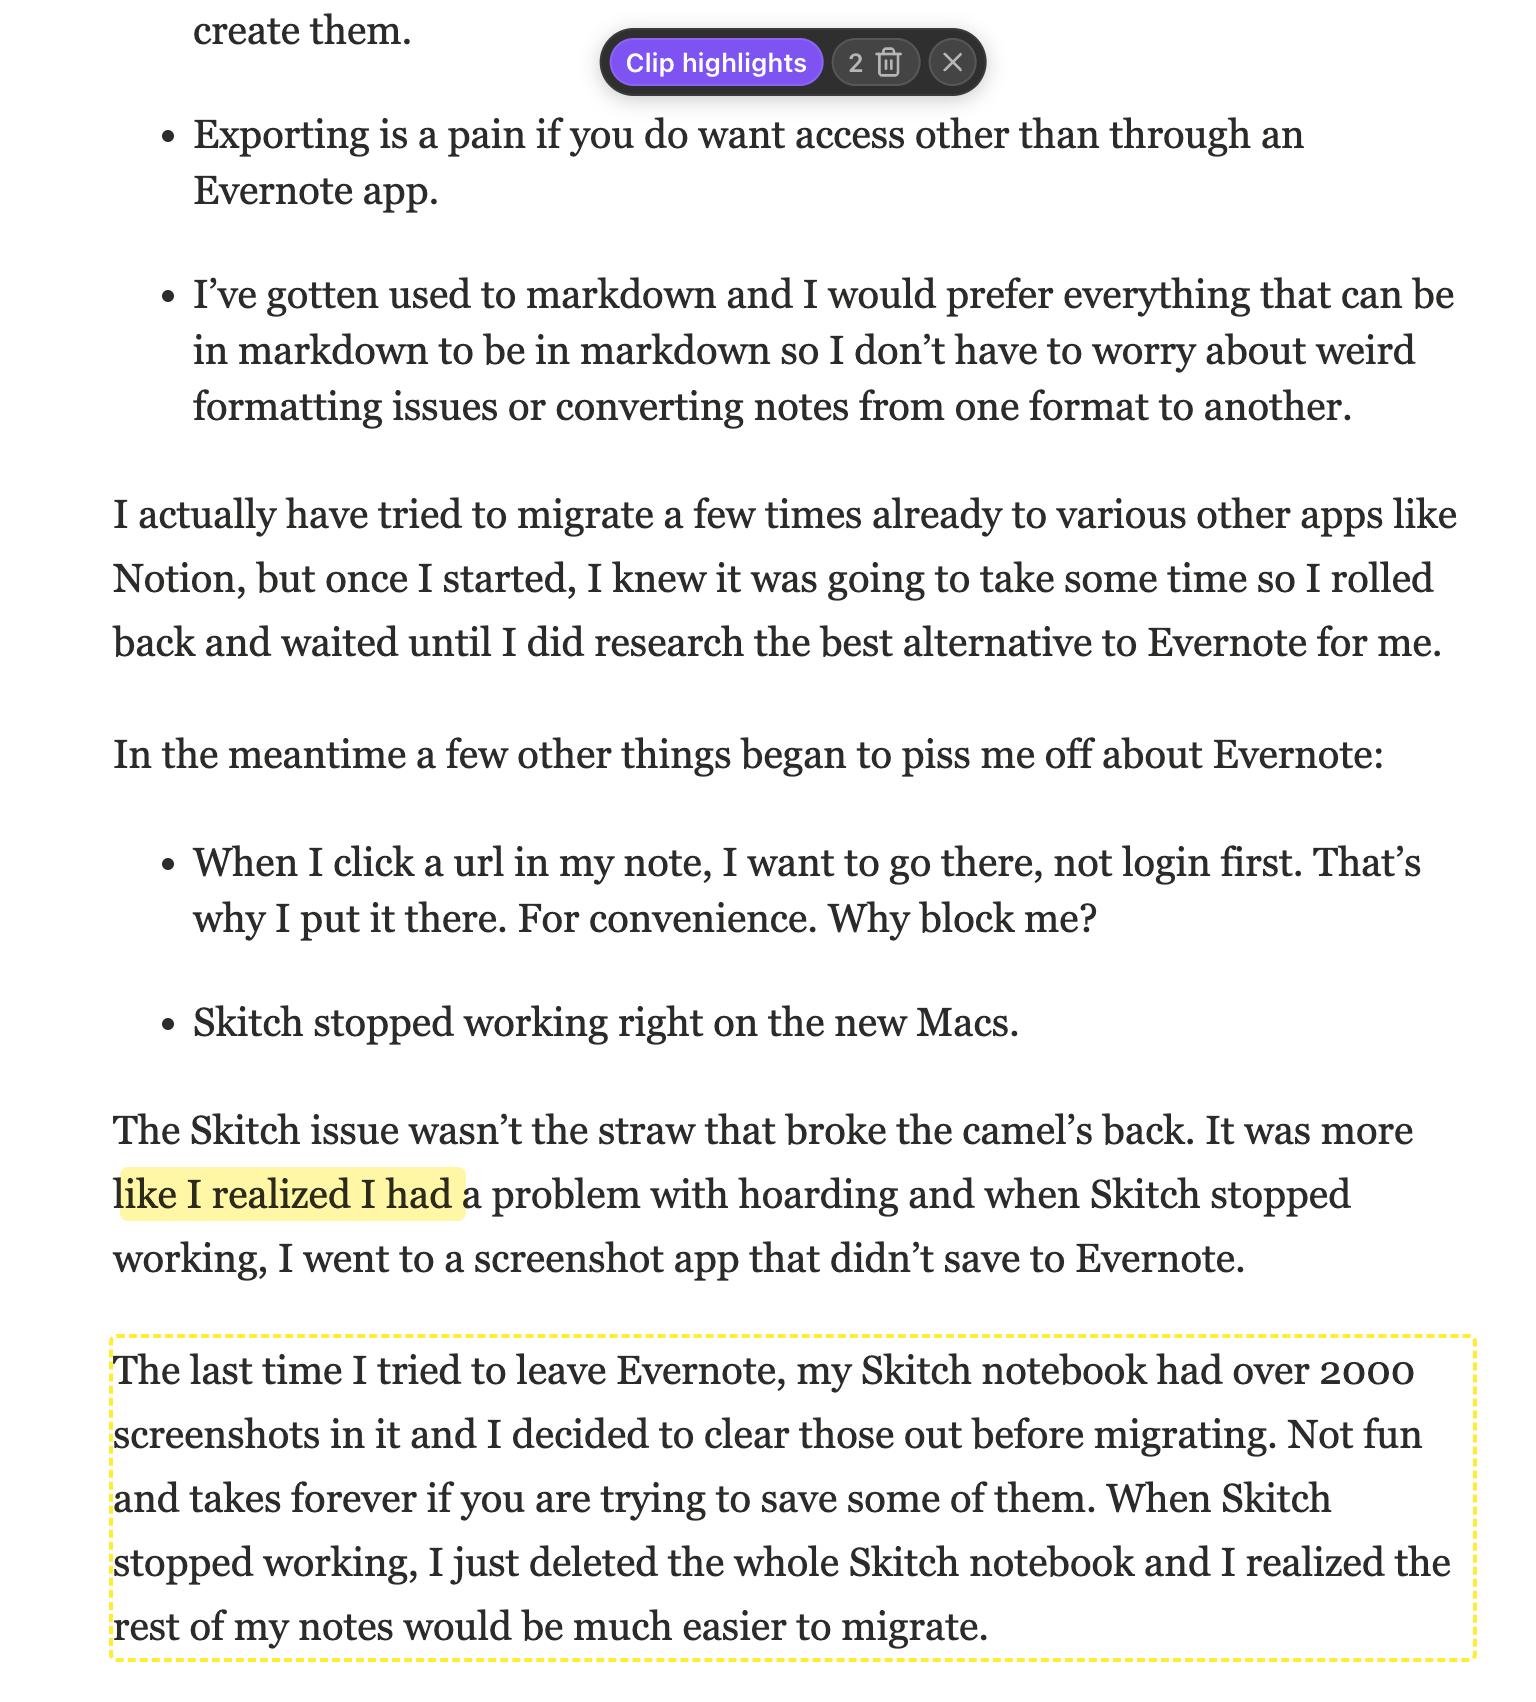
You can click and drag to highlight a specific phrase, sentence, or sentences. Or you can hover over a paragraph, like I do at the bottom of the screenshot, and click once to highlight the whole paragraph. At the top of the window, it keeps a count of your highlights and you can click the trashcan to delete them.
When you are done highlighting, just click Clip highlights and then Add to Obsidian. And depending on how you have the Highlighter settings set up (get to it from the gear button in the clipper), it will either:
- Save just your highlights (what I am doing)
- Save the content with the highlights
- Save the content without highlights
You can also set the extension to Always show highlights if you want and they will be visible when you come back to the page. You can also export all your highlights from the settings page.
Using Templates with the Web Clipper
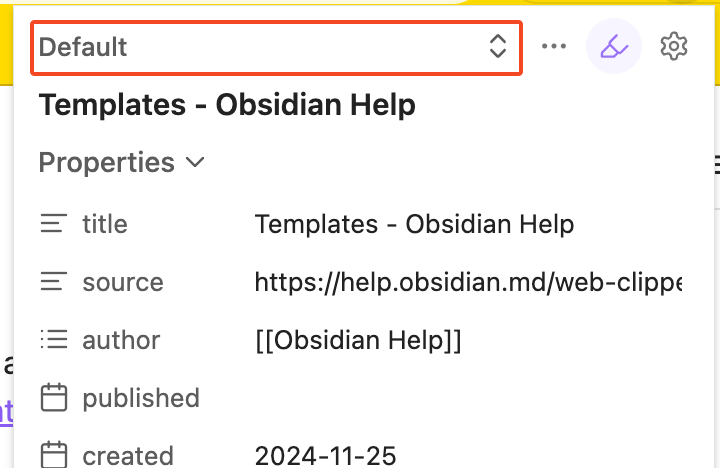
Obsidian Web Clipper comes with a default template that works pretty well for my use case. You can edit this template or create new ones and then choose the one you want to use from the clipper’s heading:
But there is a lot to templates and I can see me creating specific templates for specific types of information I’m collecting. You can do that in settings by clicking on the gear. Here are basic configuration values for a template:
- Template name: Self- explanatory
- Behavior: You can have it
- Create a new note
- Add to the bottom of an existing note
- Add to the top of an existing note
- Add to the top of a daily note
- Add to the bottom of a daily note
- Note name: By default this is set to the
titlevariable and you can modify it by adding other variables. - Note location: The folder in the vault you want to hold the note. This is where the default “Clippings” folder comes from in the clipper UI. I guess I should have set it there. Well, now I know.
- Vault: Set which vault it will save to
- Last used
- [One of the vaults you added in General settings]
- Template triggers: Trigger the use of this template based on a URL pattern or the schema.org data the page contains.
- Properties: Variables from the page that will be stored in the yaml frontmatter of the markdown file. This is what adds author, title, source, and more.
- Note content: This becomes the markdown in the markdown file. By default this is set to the
contentvariable and you can modify it by adding other variables.
Speaking of variables, here are some of the variables that are automatically generated by the extension, courtesy of the Obsidian docs:
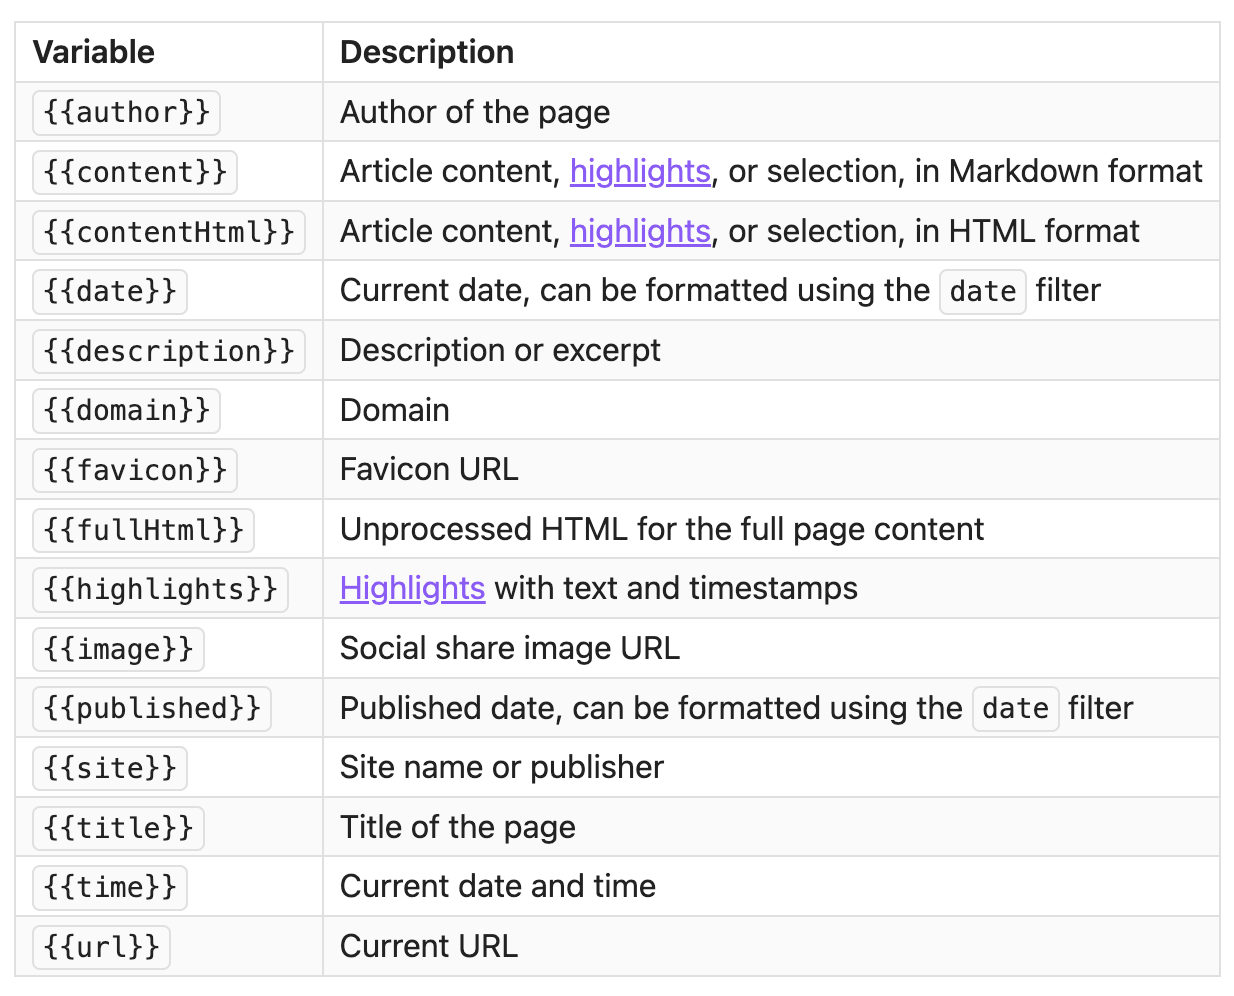
But those aren’t the only variables available. By clicking on the three dots menu in the clipper heading, you can find others.
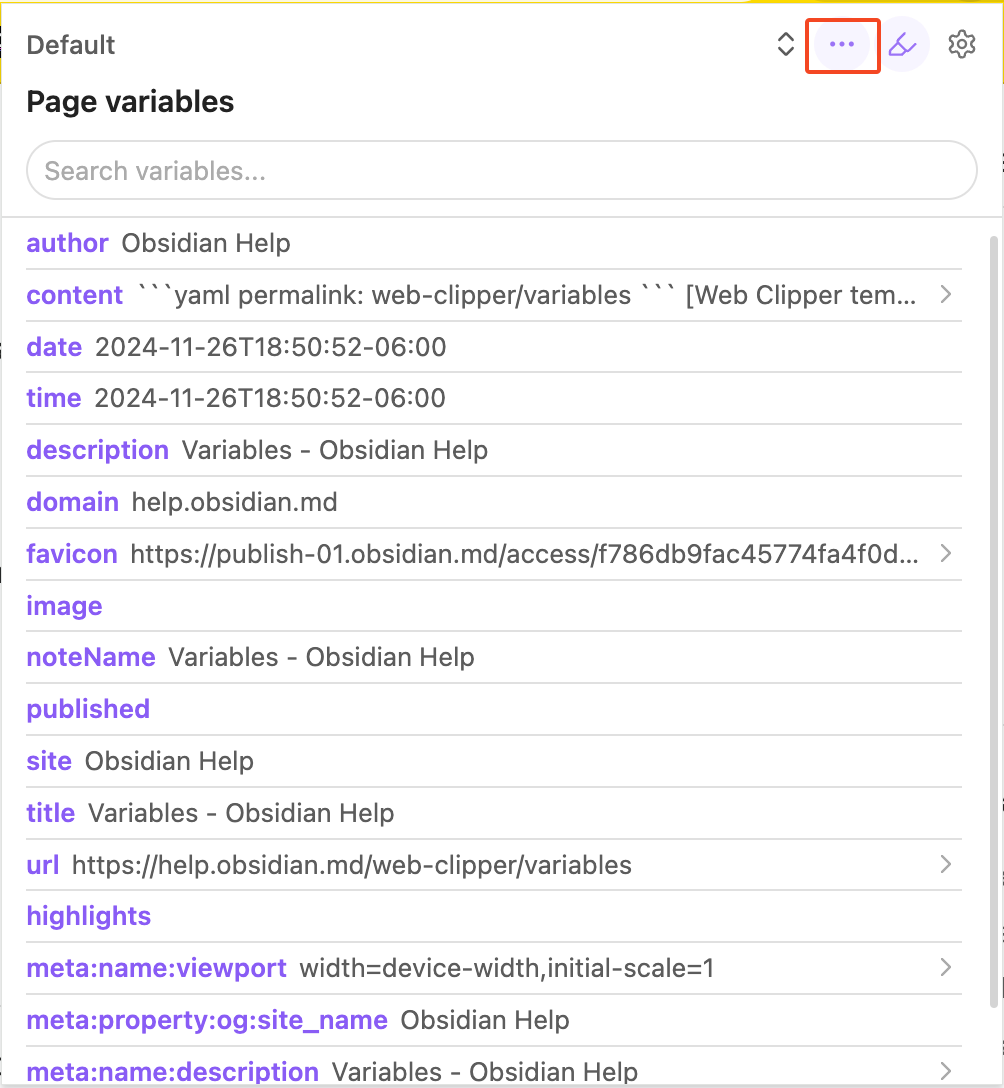
For more details, check out the Obsidian docs on web clipper variables.
An Obsidian Web Clipper Custom Template and Variable Example
I didn’t realize the power of templates and variables until I started writing this post, but if you collect the same type of notes all the time, you can collect those notes with just the data you need and put them in just the folder you want every time, like a one-page scraper. At first, I wasn’t sure why Note location was stored in the template, but now it makes sense.
Let’s say you’re collecting movie details from IMDB. Start by going into settings and creating a new IMDB template.
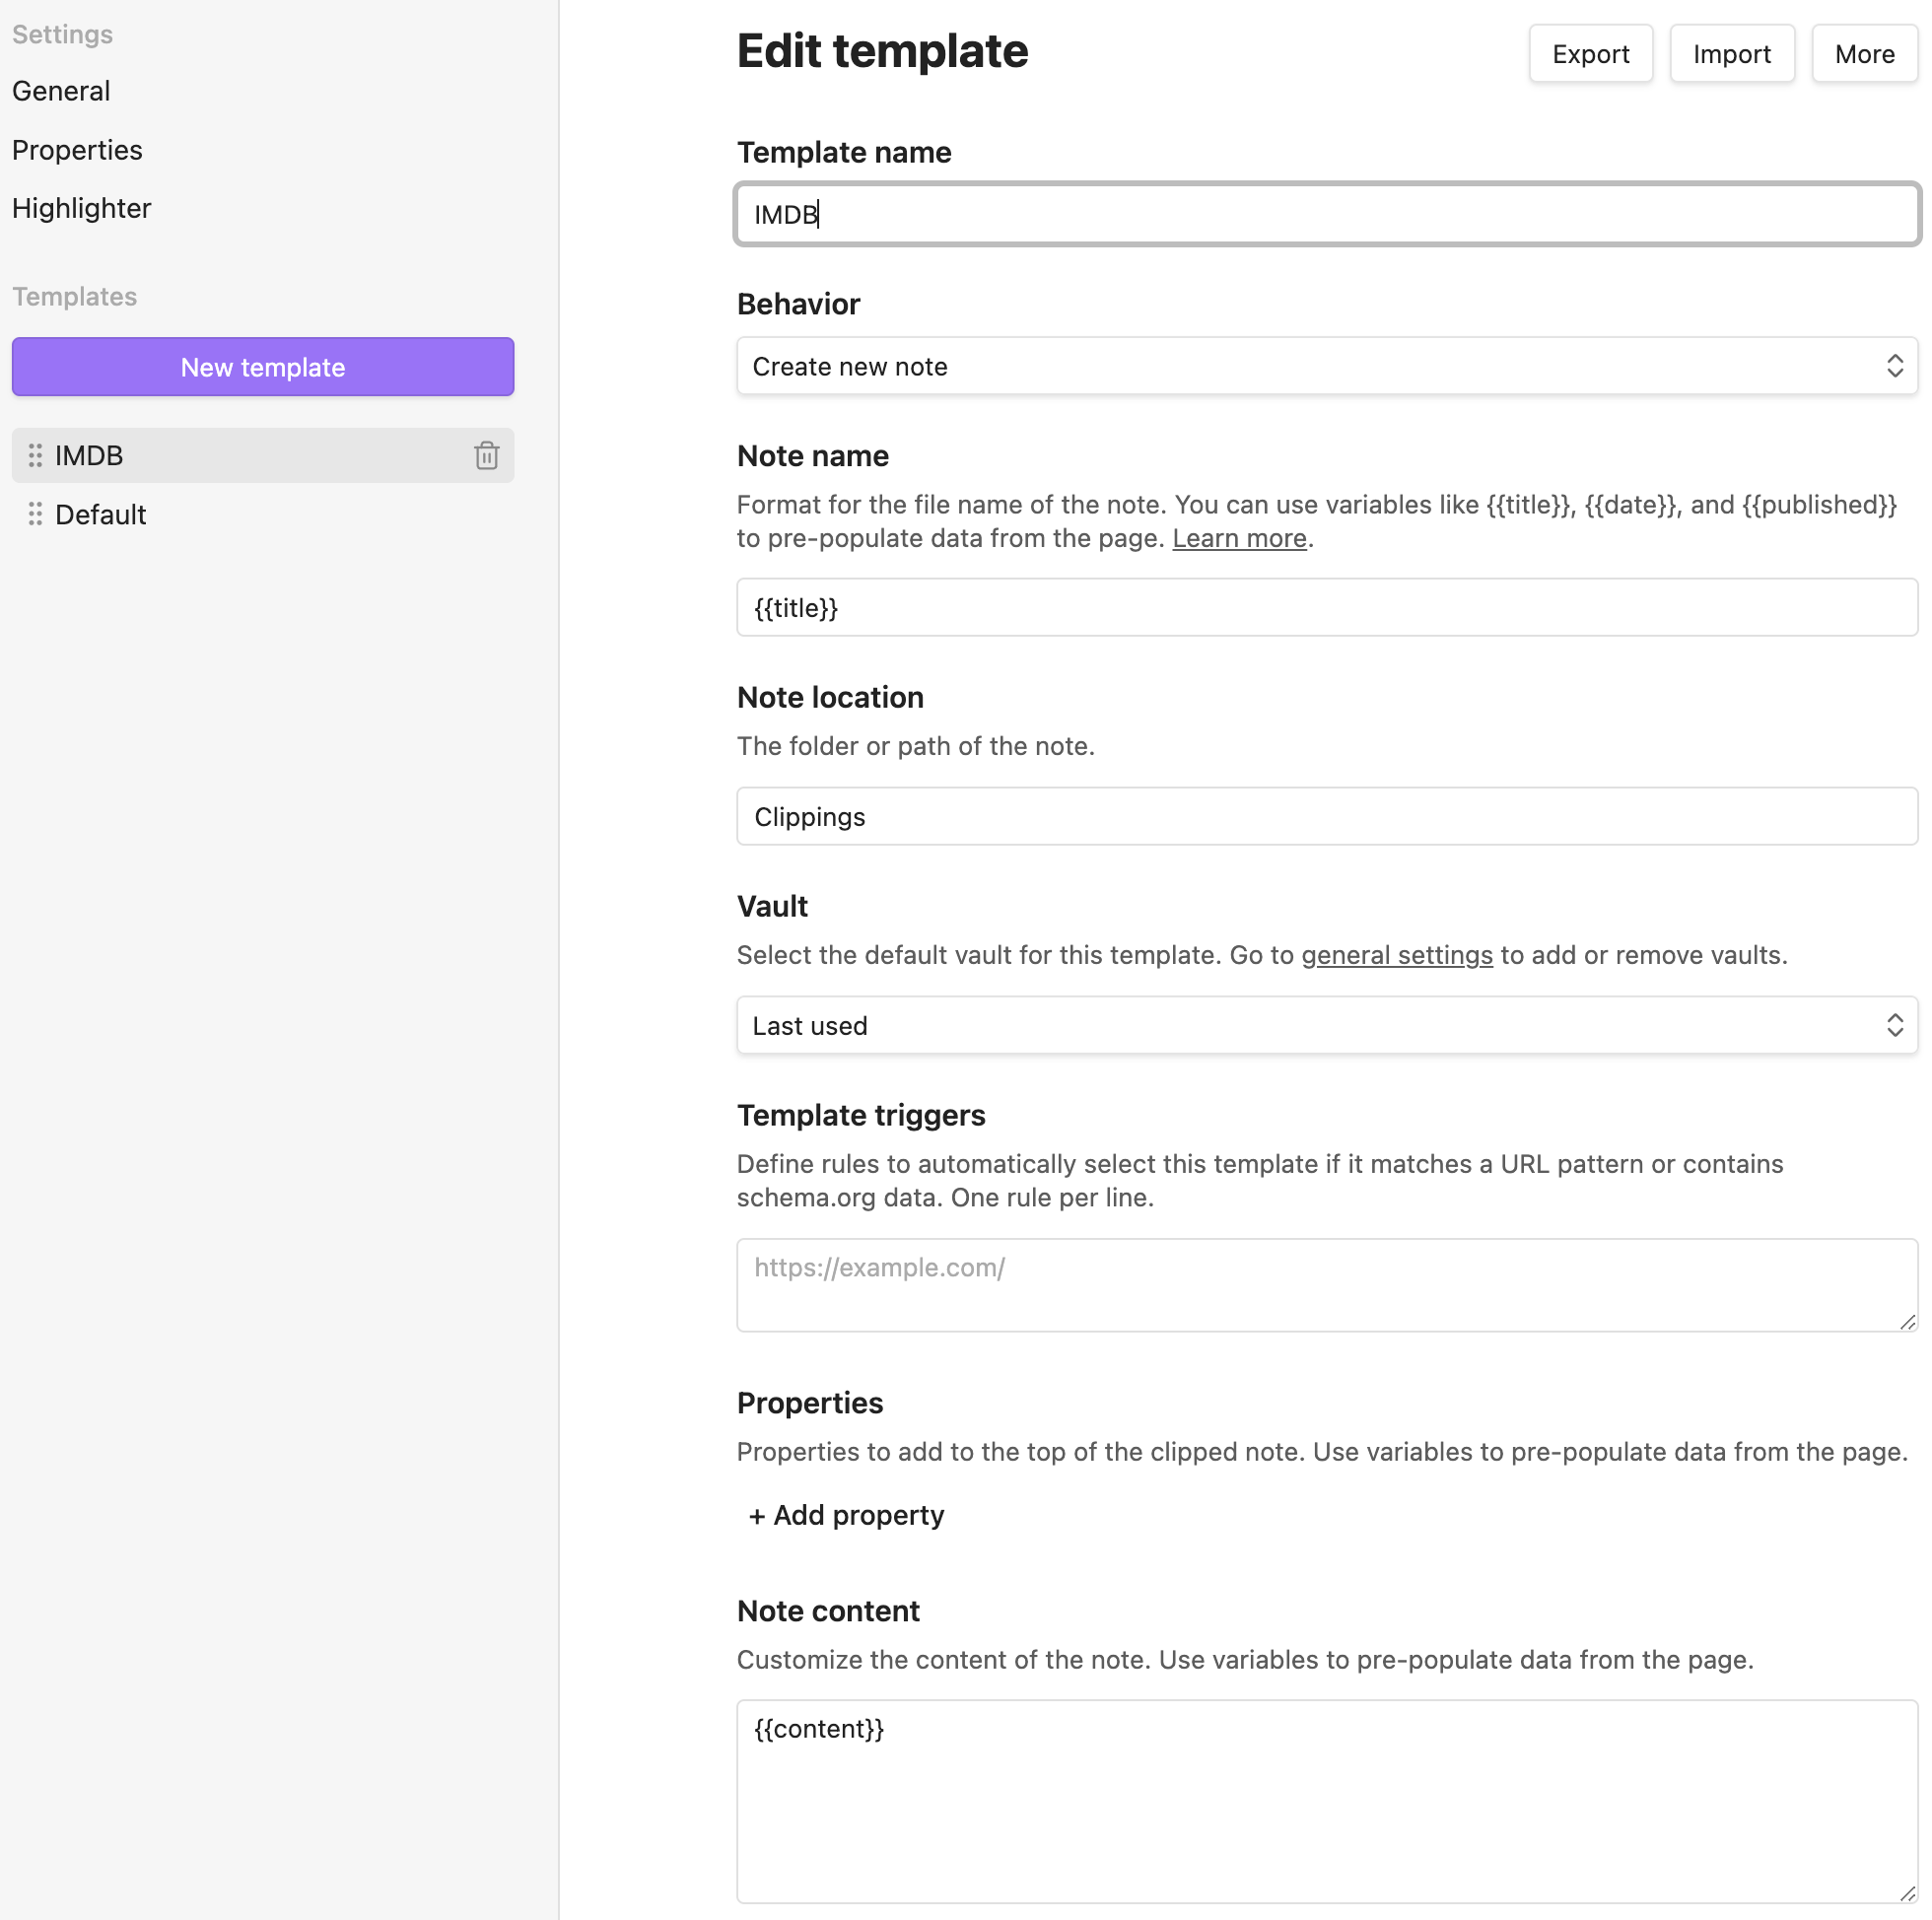
This won’t start out as much. In fact, all the variables set up for the default template will be reset. You will still get the title as the page name and get the content in the note content, but that’s about it, but now you can customize it to just what you need.
One thing I want to do is store all my movie notes in the same folder. So I am going to change the Note location to “Movie Clips.”
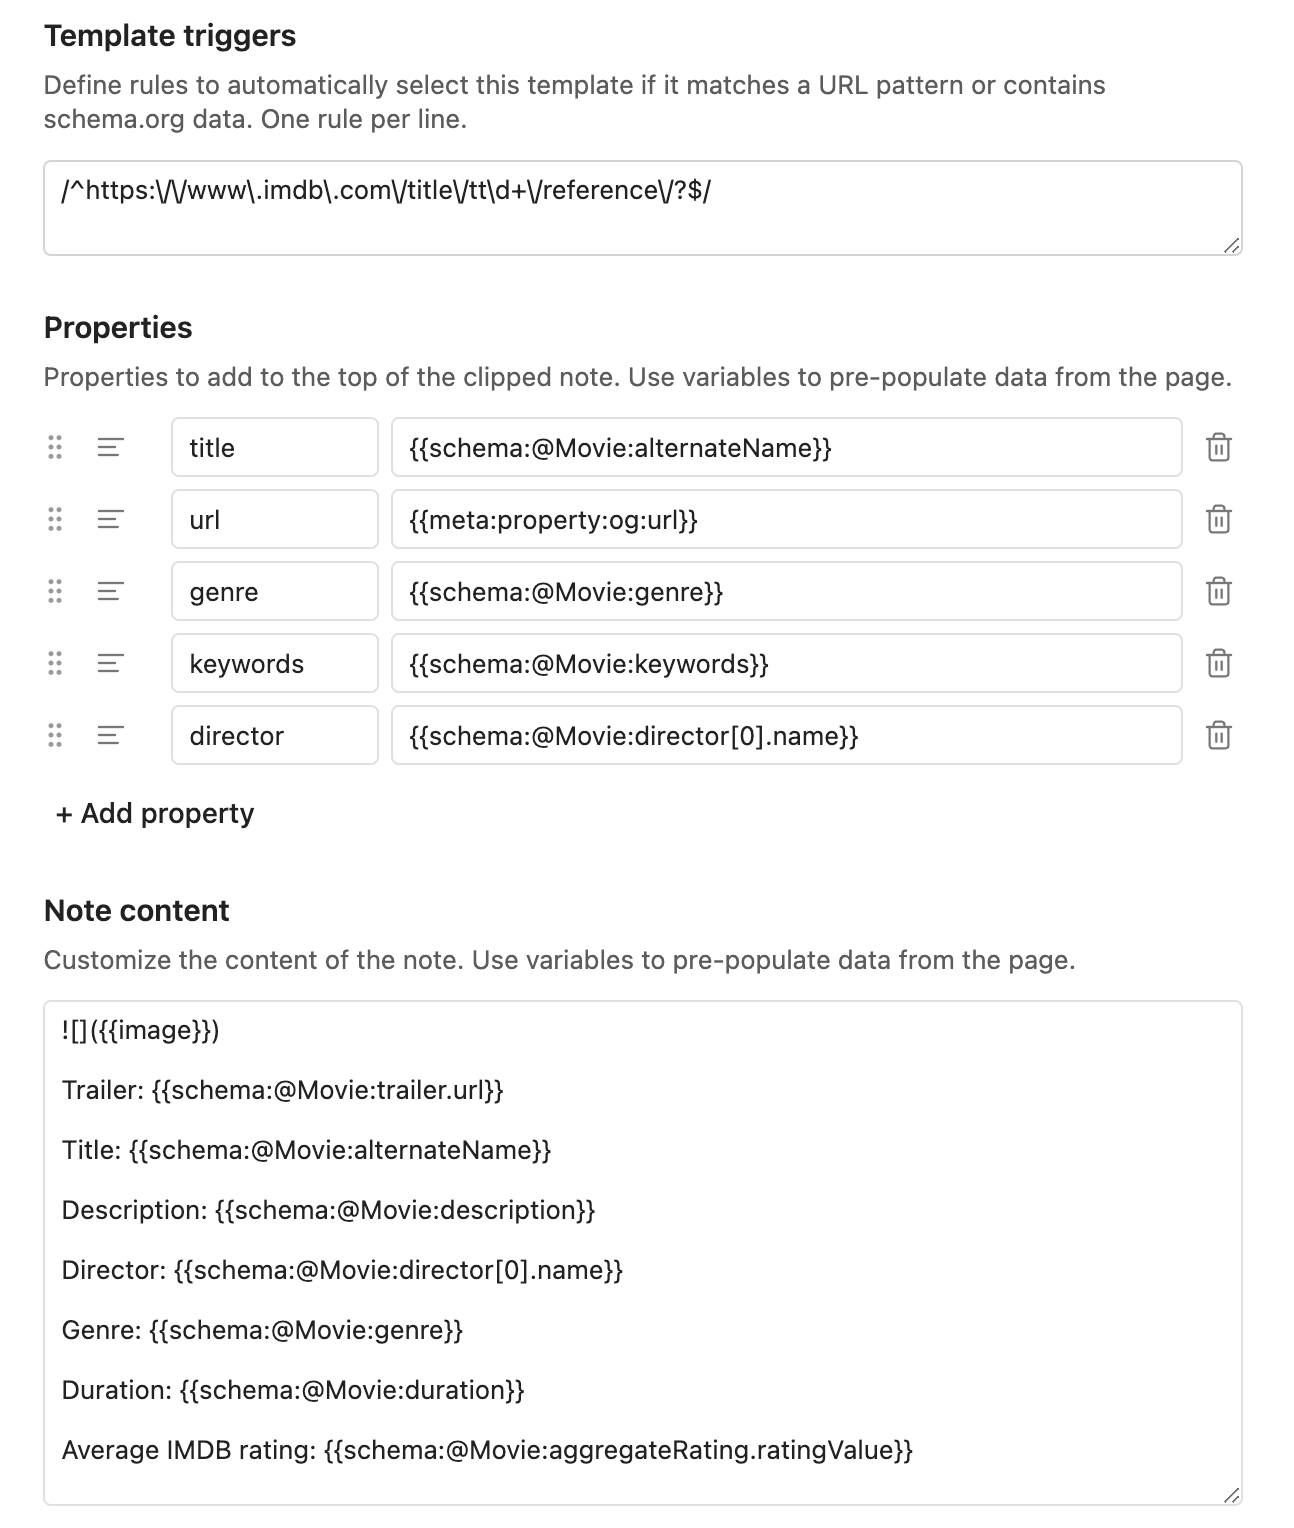
I also want this template to be used for all IMDB entries, so I am going to add /^https:\/\/www\.imdb\.com\/title\/tt\d+\/reference\/?$/ as a Template trigger. If you want more than one trigger, you can add one per line in the form field, but one will work for this.
After adding that, to test the template will be triggered, I went to IMDB and opened the clipper to see it selected the IMDB template:
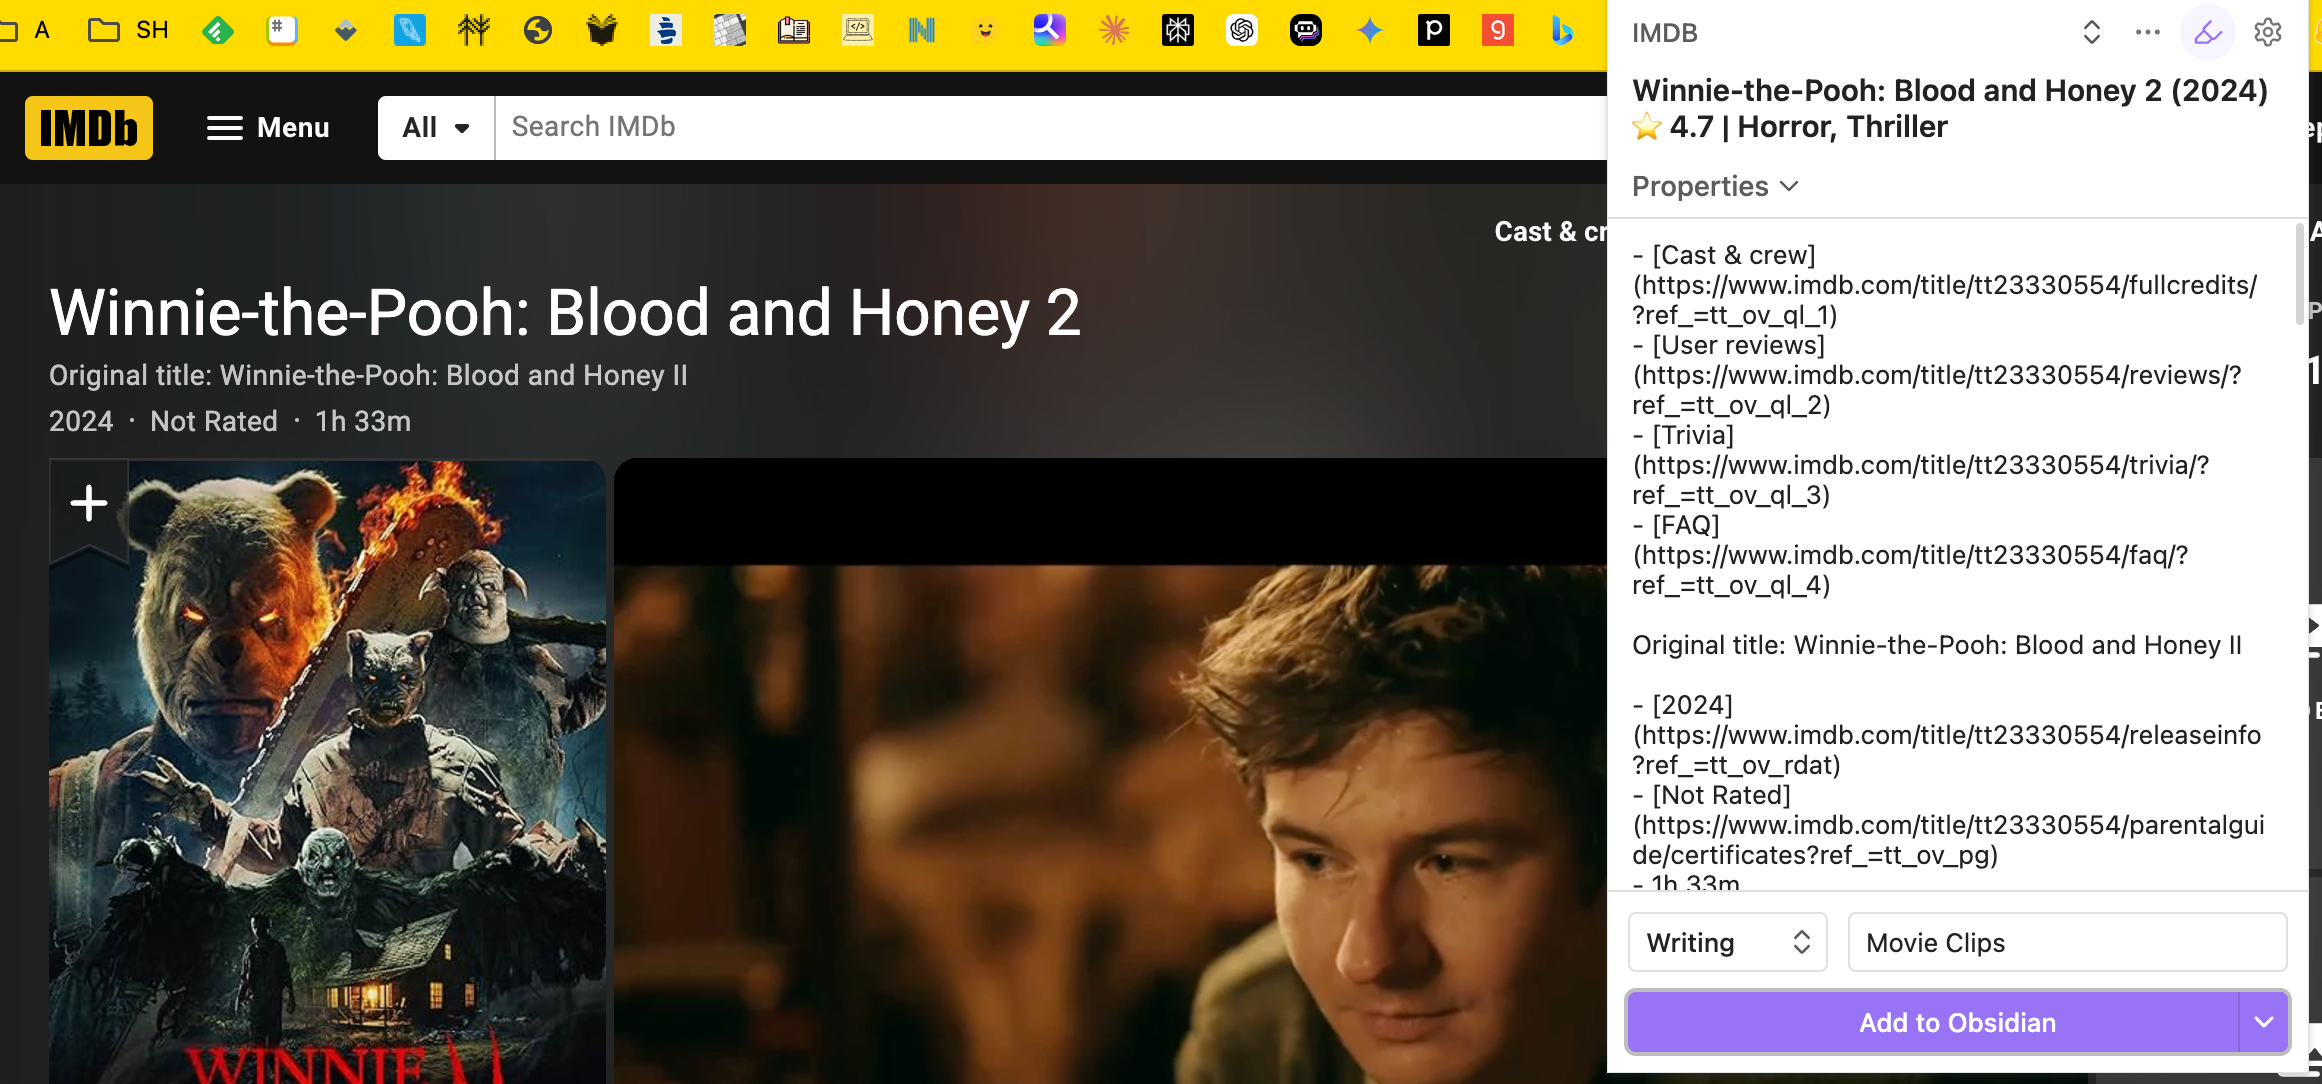
To customize the content I’m collecting, the easiest way is to click on the three dots menu in the header to get to the Page variables dialog. I know I want the title of the movie, so I click on the purple title, which copies the variable to the clipboard.
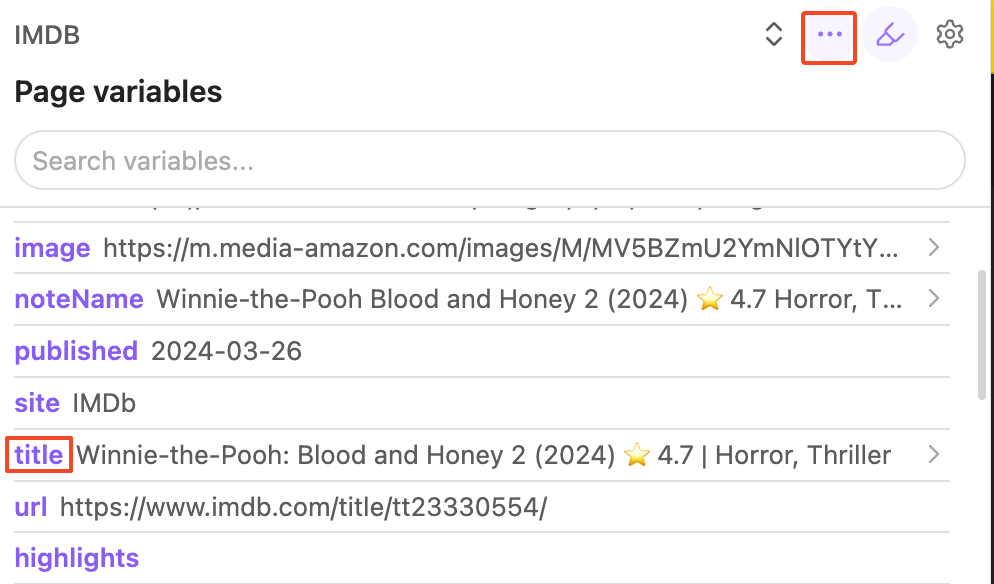
Then go back to the template I am creating in settings and click Add property under Properties. In the property name field on the left side, I name the variable and then I past the value I copied from the page variables into the property value field on the right side.

This will add the title to the yaml frontmatter in the file, so you can use it in plugins like Data View.
But maybe I don’t want to just dump the whole content of the page into the content of my note and would rather have it more structured. I can remove the default content variable in the Note content field and add specific variables there.
This all happens as soon as you change it, so you can add something to your template, then go back to the clipper to see what is will clip until you get want you want. Here’s what I ended up adding, just playing around to see what would work:
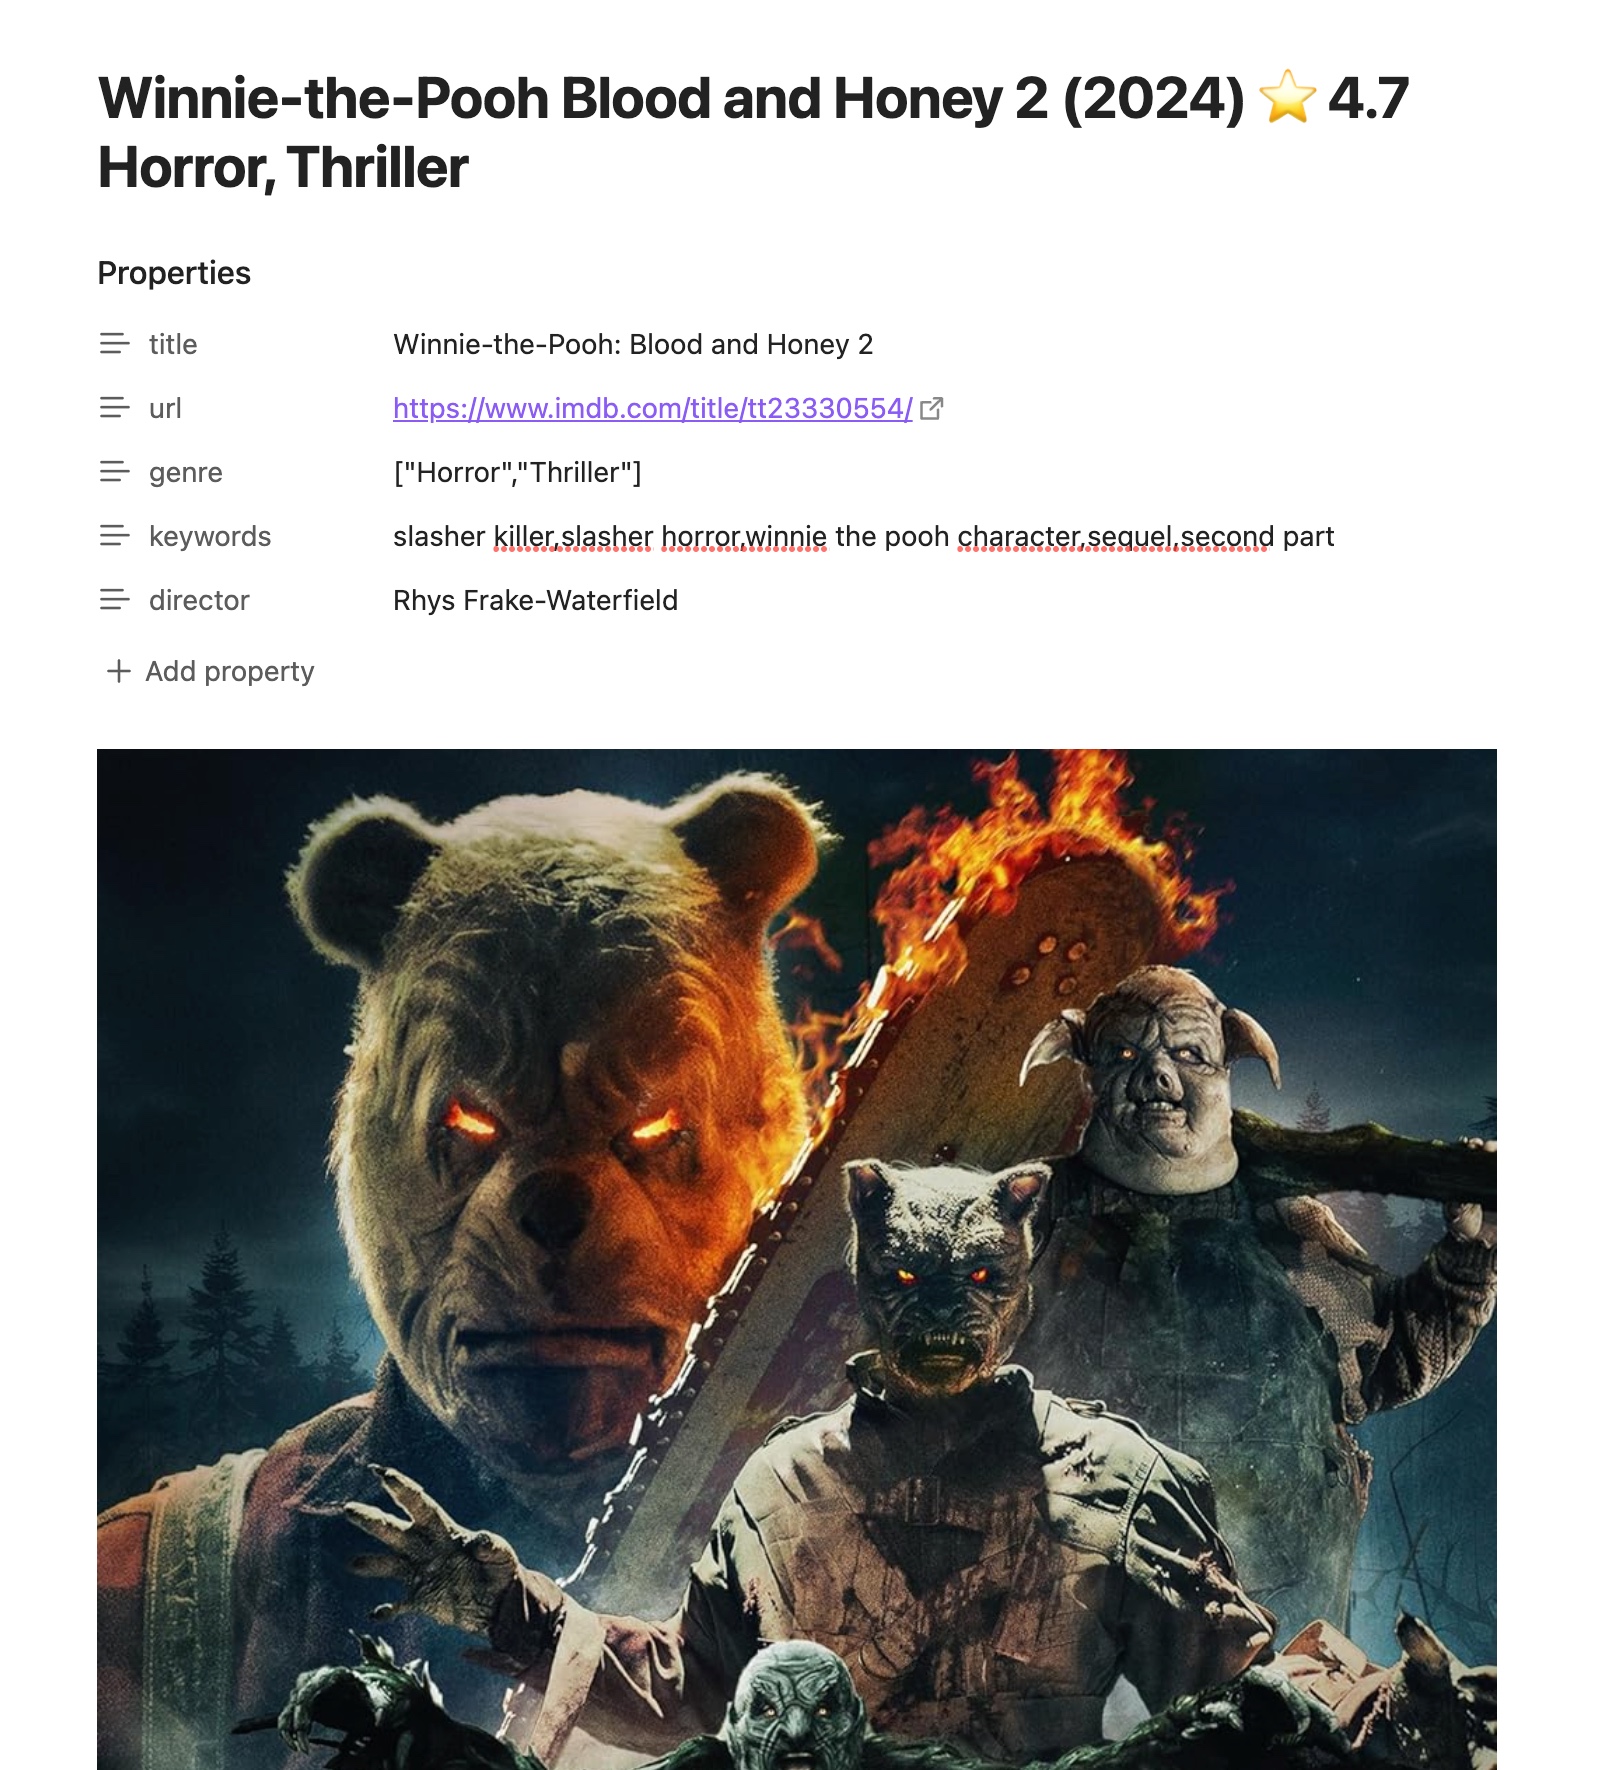
And here is the result of the note in two screenshots because the image was huge. You can see the properties here:
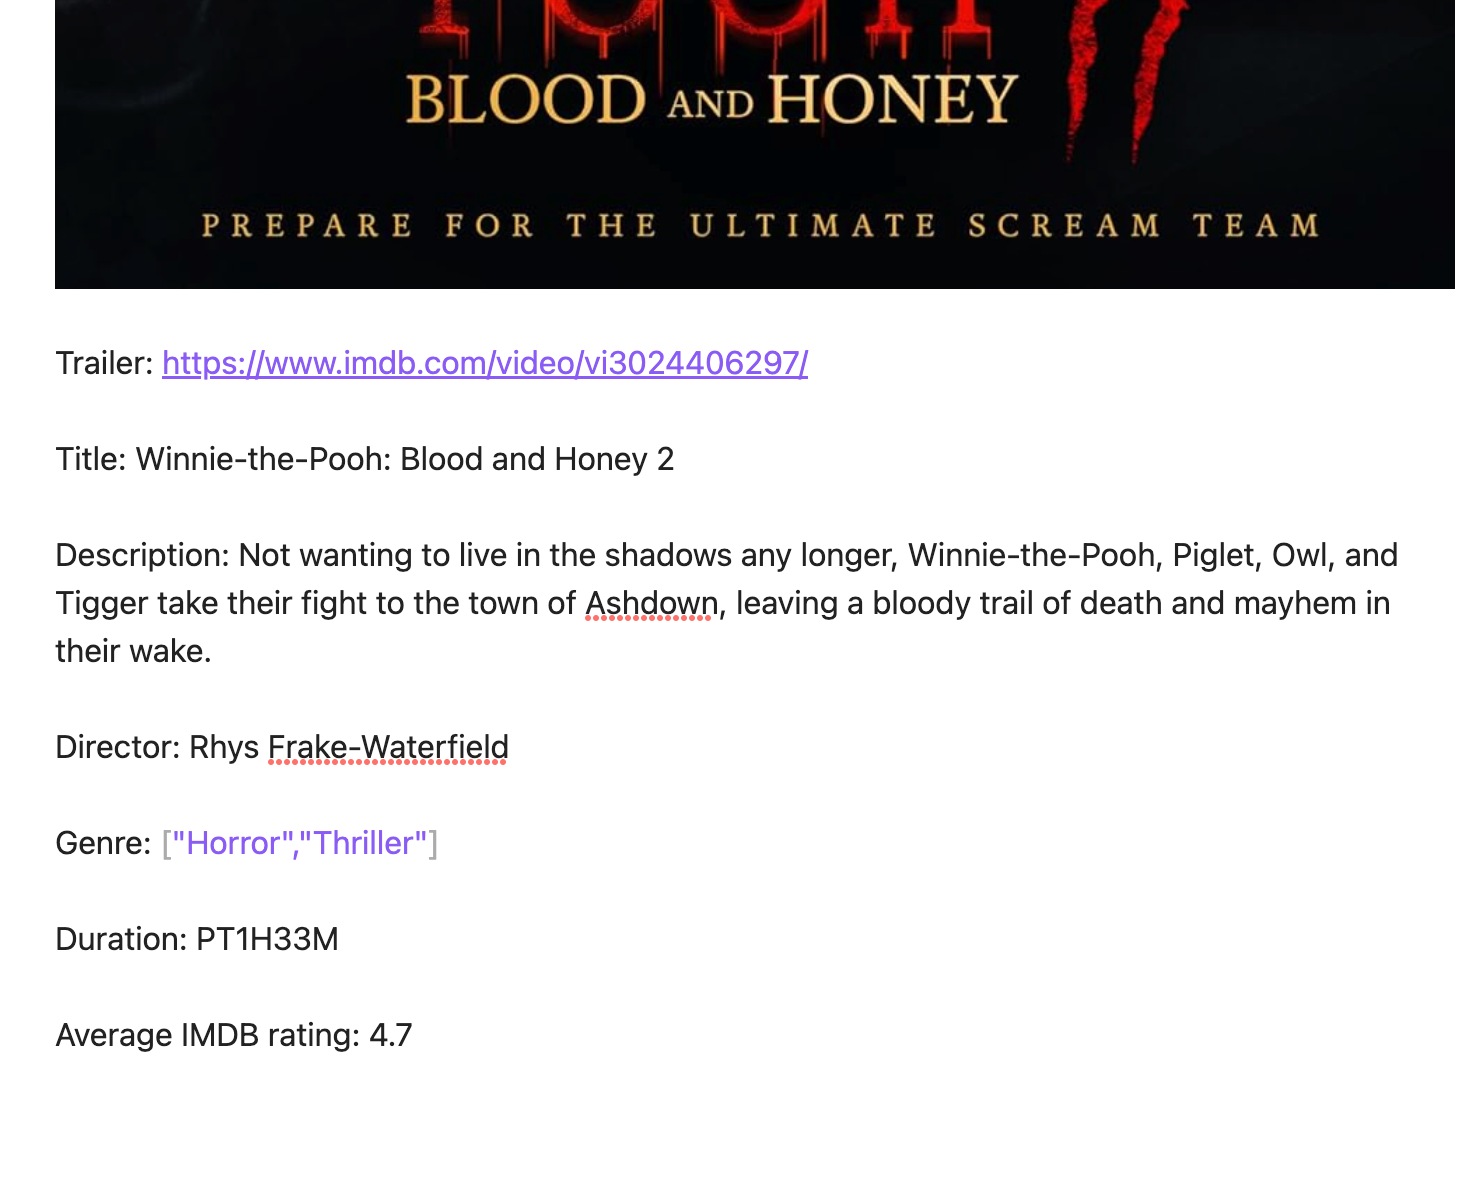
And here is the result of variable I set up for the body of the note:
Adding the Obsidian Web Clipper to My Workflow
I still have the tendency to collect random things online that have nothing to do with my current projects, so I will still be using Joplin as my “internet junk drawer” and at least half the stuff I find will eventually get deleted.
But, sometimes I am doing research for articles I know I am going to write, I have time to read what I am looking at, and want to only collect specific details from the page. That would be my perfect use case for the Obsidian web clipper, though I might find more. The fact that it stores author, url, and title will also be very useful.


